
Create your menu by scanning it
Point your camera at a printed menu. EPOS360 reads every item, price and category, then builds your product images for you. No typing item by item.
Rather not read? Skip to the video walkthrough at the bottom of the page.
WHO THIS IS FOR
Owners and store managers
setting up EPOS360 for the first time, who do not want to key in a printed menu by hand.
Front-of-house and operations staff
adding a seasonal, daily-special or promotional menu while the shop is open.
BEFORE YOU BEGIN
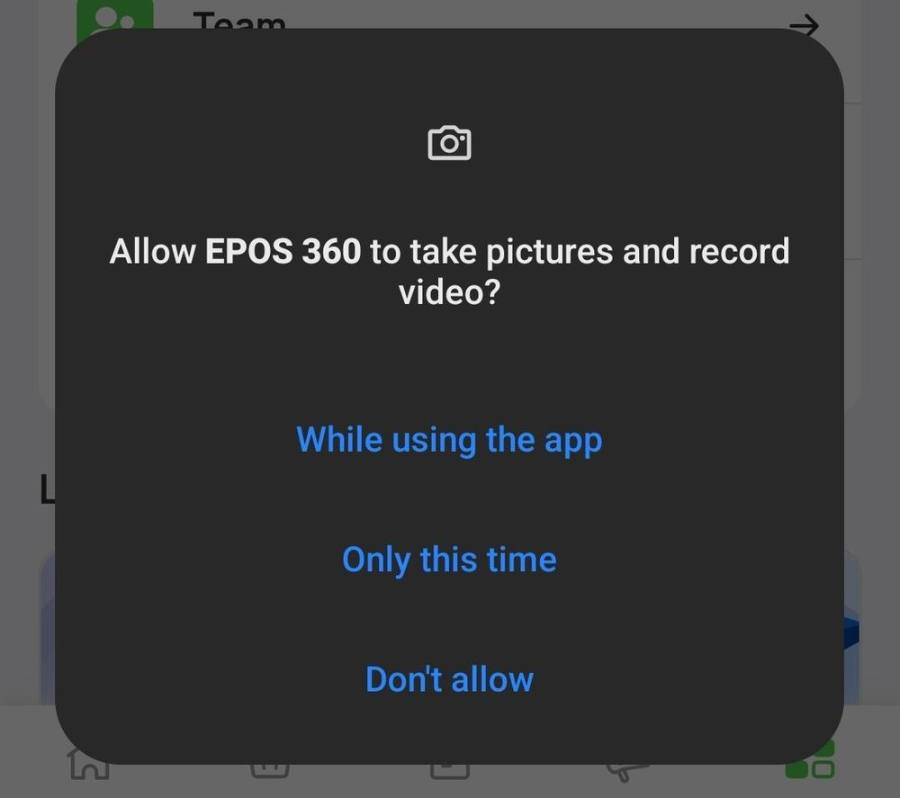
Allow camera access. EPOS360 asks once, the first time you scan.
Lay the menu flat, in good light. Creases and shadows are what make prices come out wrong.
Keep working while images build. AI product images are generated in the background.
THE STEPS
Pick the device in front of you.
Open Items Management
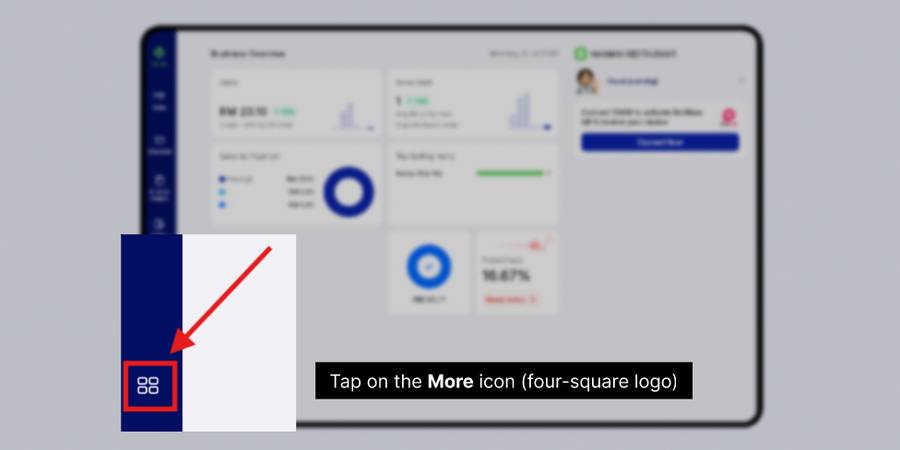
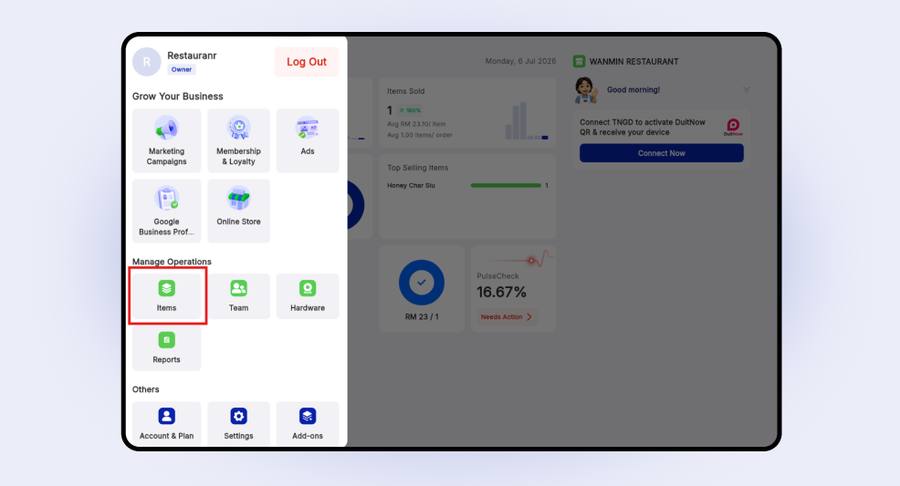
Tap the More icon — the four small squares in the left sidebar — then under Manage Operations tap Items.
Start the OCR import
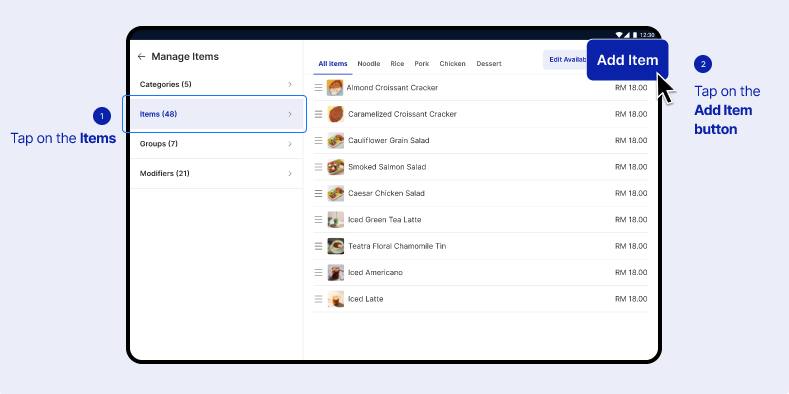
On the Manage Items screen, tap Add Item, then choose Create with OCR.
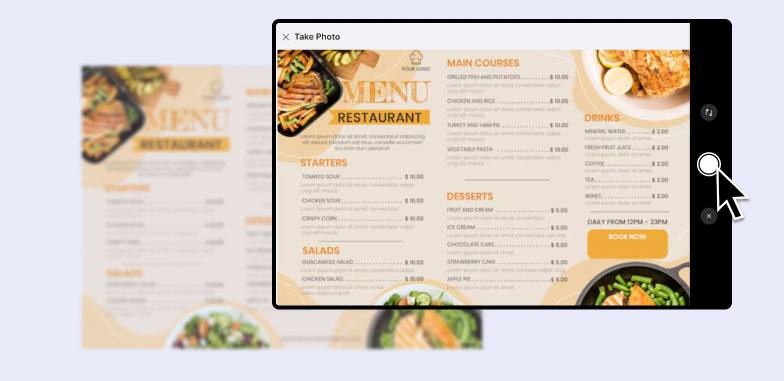
Photograph the menu
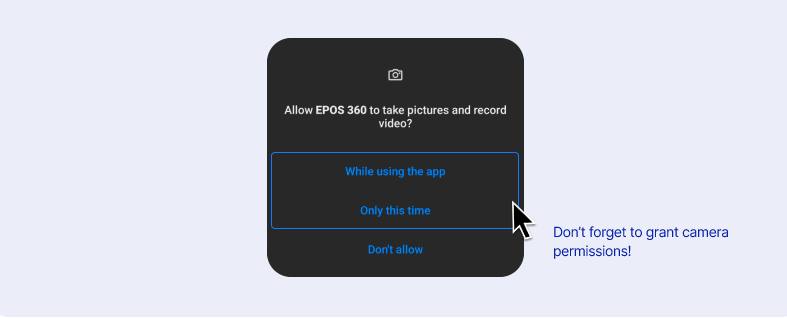
Allow camera access when asked. Hold the device flat above the menu so the whole column fits the frame, then tap the shutter button.
Crop to the items and prices
Drag the handles until only the items and their prices sit inside the box, then tap Continue and wait while EPOS reads the menu.
Check the names and prices
On Review Item Details, read down the list and correct anything that came out wrong. When it matches your menu, tap Add to Menu.
This is the last stop before anything is saved. Prices are the field worth double-checking.
Let EPOS make the item photos
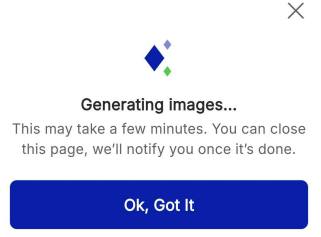
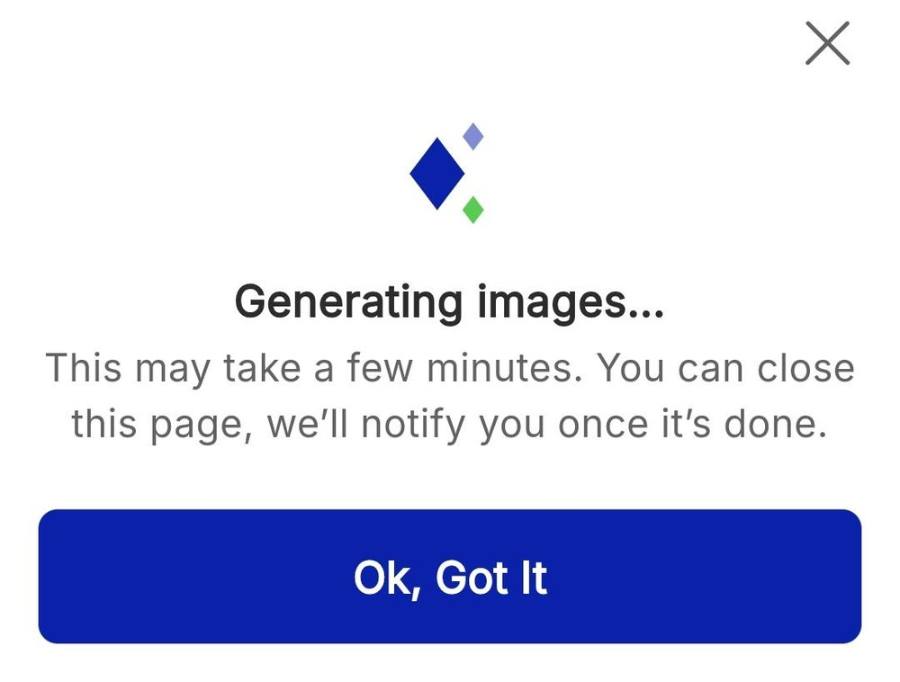
Tap Yes, Generate Images, then Ok, Got It. Images build in the background. When the Item added successfully banner appears, your menu is live in the Sell tab.
Open Items Management
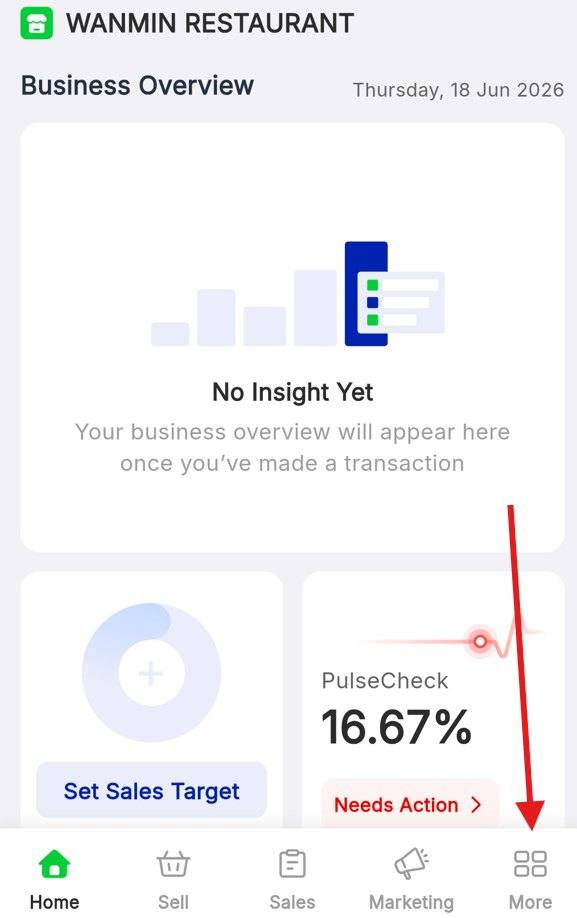
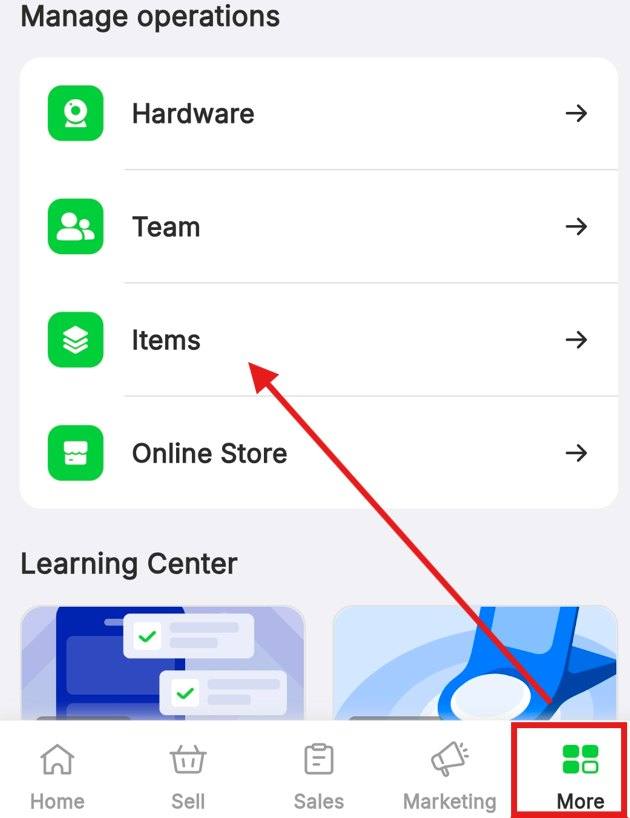
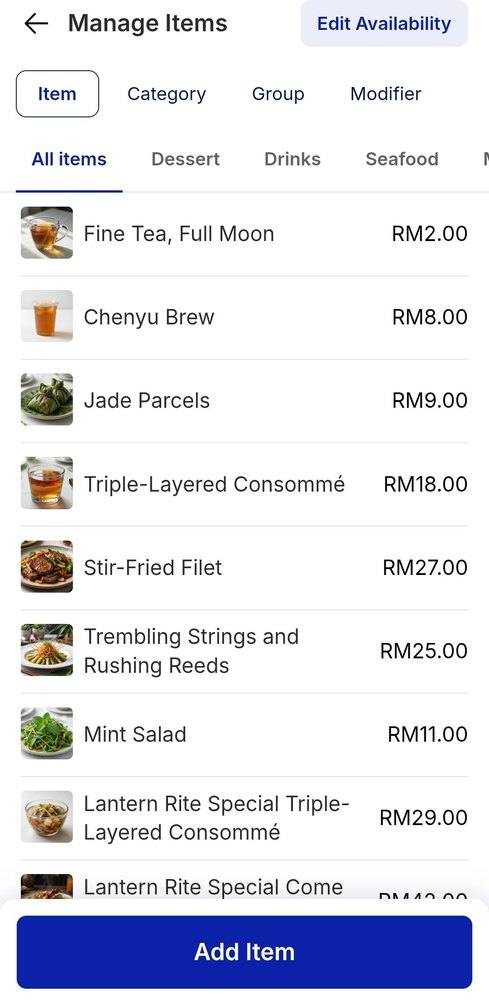
Tap the More tab in the bottom bar, then tap Items.
Start the OCR import
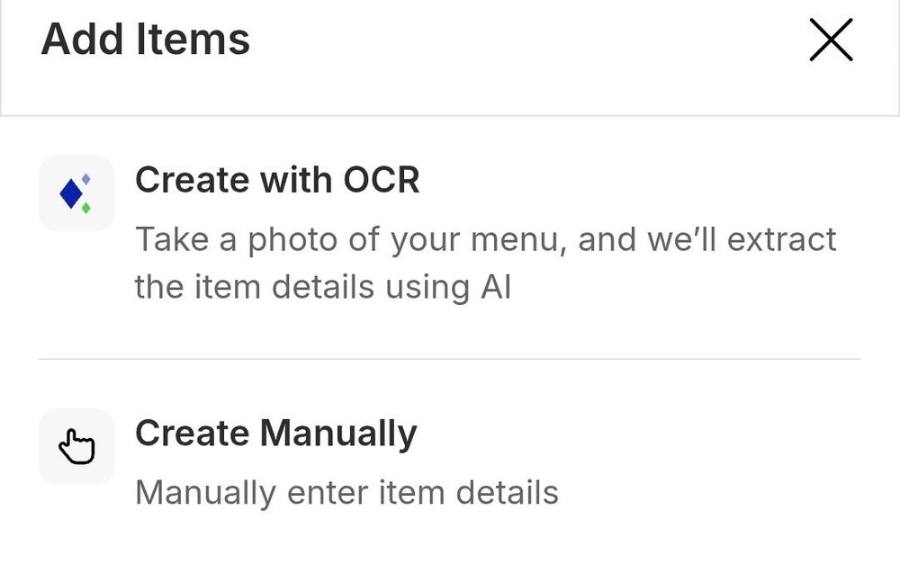
Tap Add Item at the bottom of the item list, then choose Create with OCR.
Photograph the menu
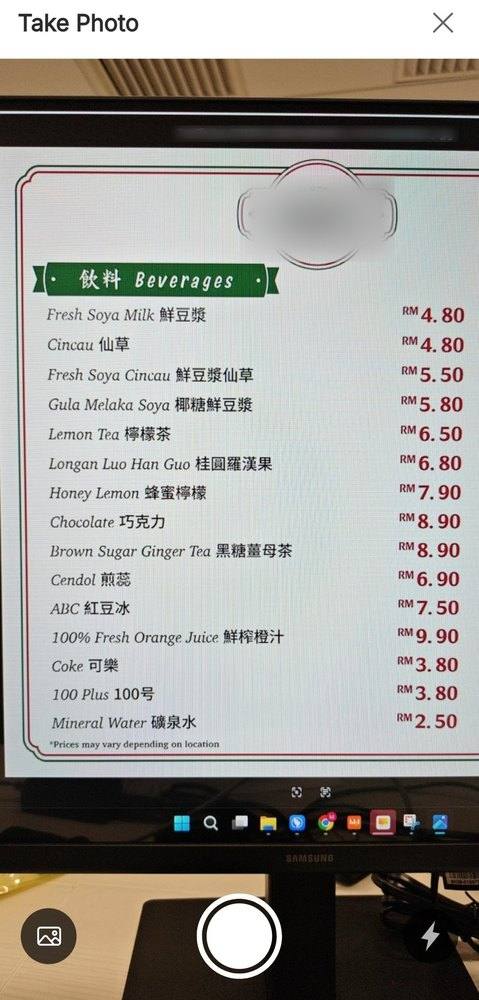
Allow camera access, hold the phone flat above the menu, then tap the shutter button.
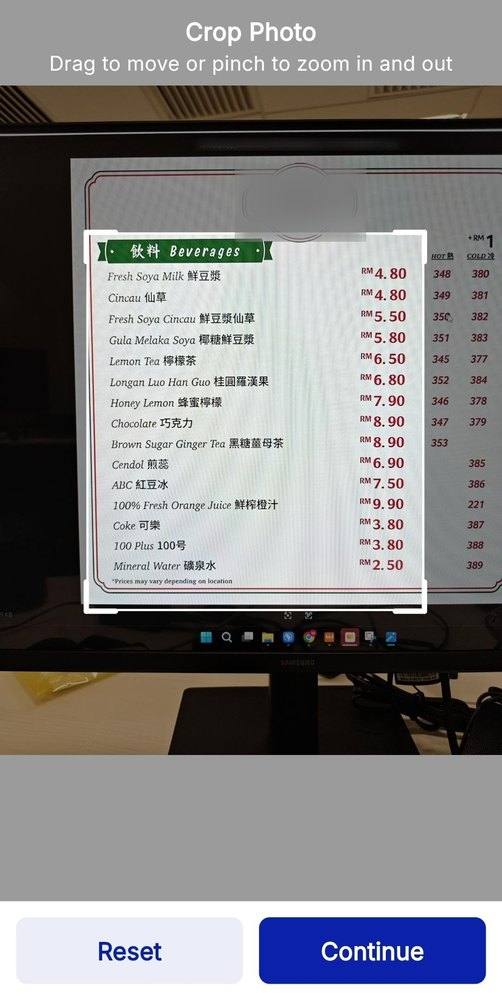
Crop to the items and prices
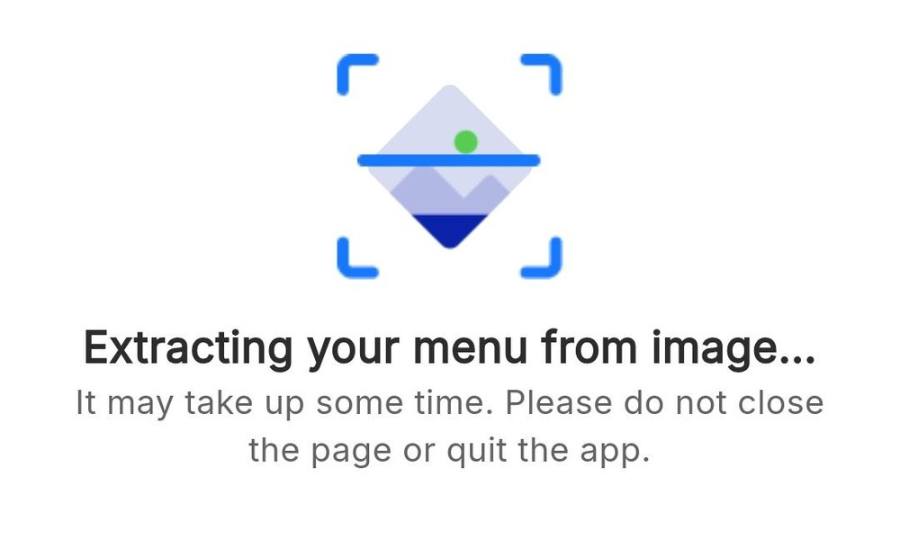
Drag the handles until only the items and their prices sit inside the box, then tap Continue and wait for extraction.
Check the names and prices
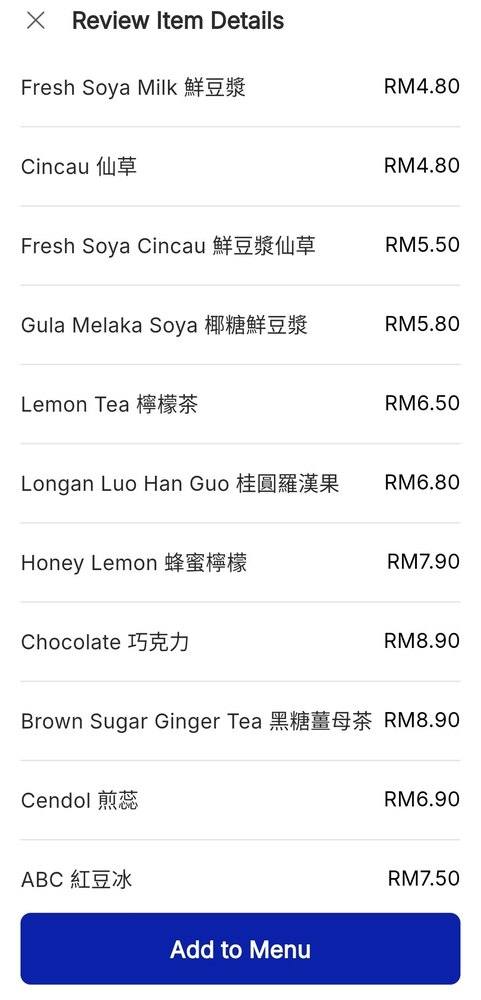
Read down the extracted list and fix anything that came out wrong, then tap Add to Menu.
Let EPOS make the item photos
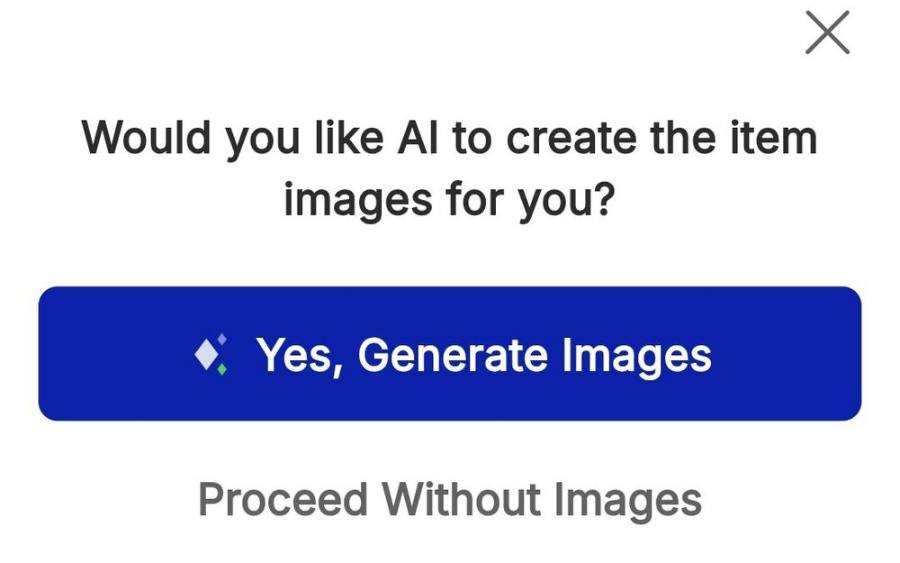
Tap Yes, Generate Images, then Ok, Got It. Your items appear in the Sell tab, ready for checkout.
EPOS360 also has Open Pricing, which lets you customise the price of an item at the point of sale rather than fixing it in the menu. Useful for weighed goods, bulk deals and anything you quote per order. Enable it after your items have been created.
WATCH IT INSTEAD
 3:40
3:40
Tablet walkthrough
Phone walkthrough
IF IT LOOKS WRONG
Prices came out wrong
Fix them on the review screen before saving. If several are off, retake the photo with more light and less angle.
Items are missing
The crop box probably cut them off. Scan one column at a time and run OCR again for the rest.
Images have not appeared
They generate in the background and fill in item by item. Carry on setting up; check the Sell tab again shortly.
