
Using the tables system
Build your dining floor in the app, then run a table through its whole life: seat the party, send the order, settle the bill, release the table. Merging and table QR ordering are here too.
Rather not read? Skip to the video walkthrough at the bottom of the page.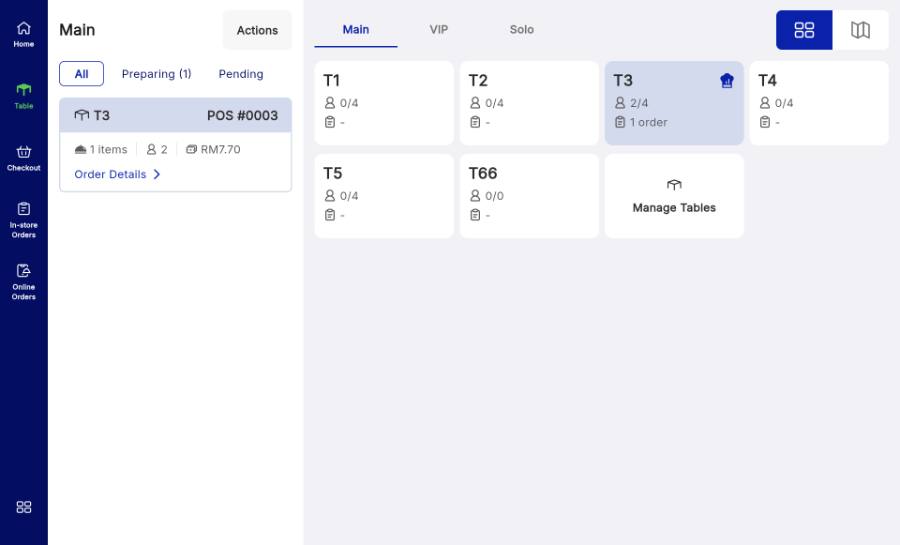
WHO THIS IS FOR
Dine-in restaurants and cafes
that seat guests and bill per table.
Floor and counter staff
who need to read table state during service and clear tables quickly.
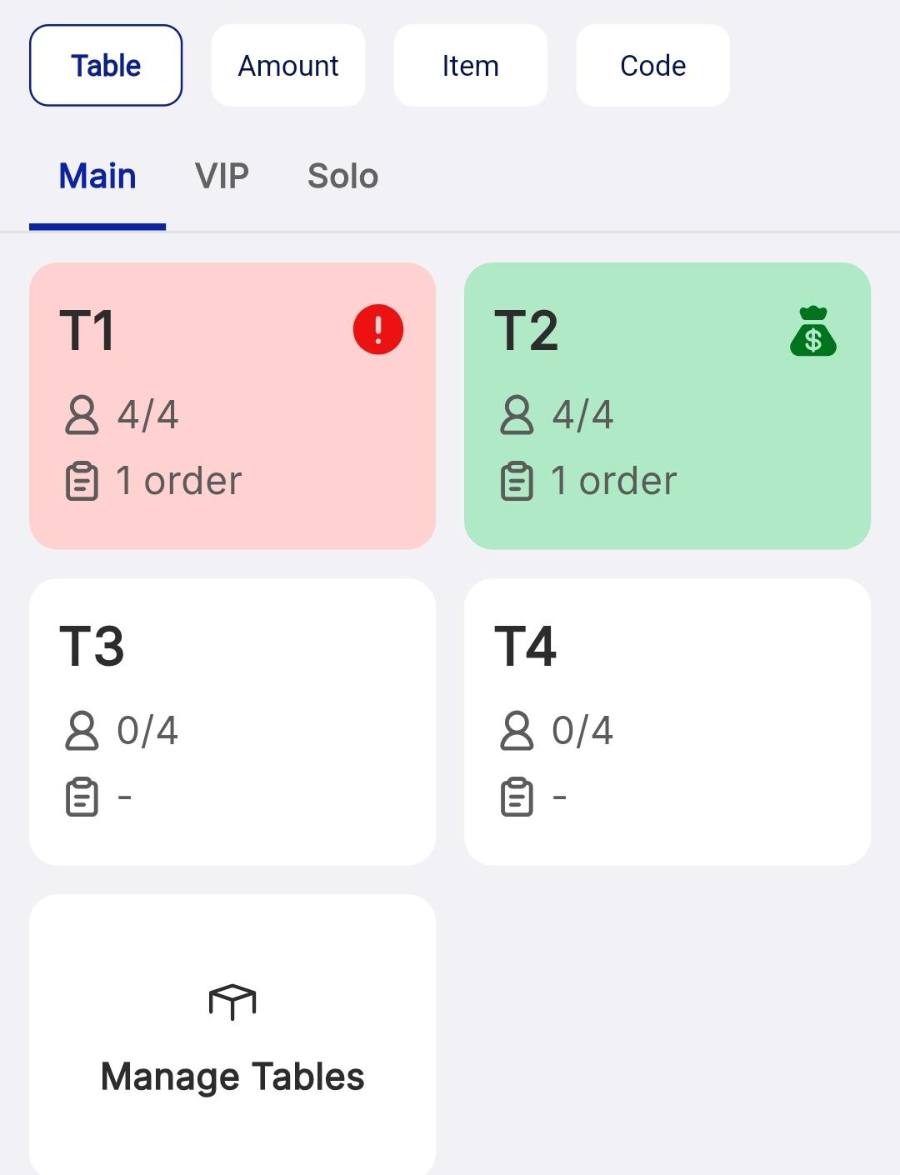
Reading the table colours
Blue, chef’s hat
An unpaid order is active in the kitchen.
Green, moneybag
The bill is settled, but the table is still locked until released.
Plain
Vacant and ready for the next party.
BEFORE YOU BEGIN
Table names are required, Pax is not. You can leave seating capacity at 0 and still use the table.
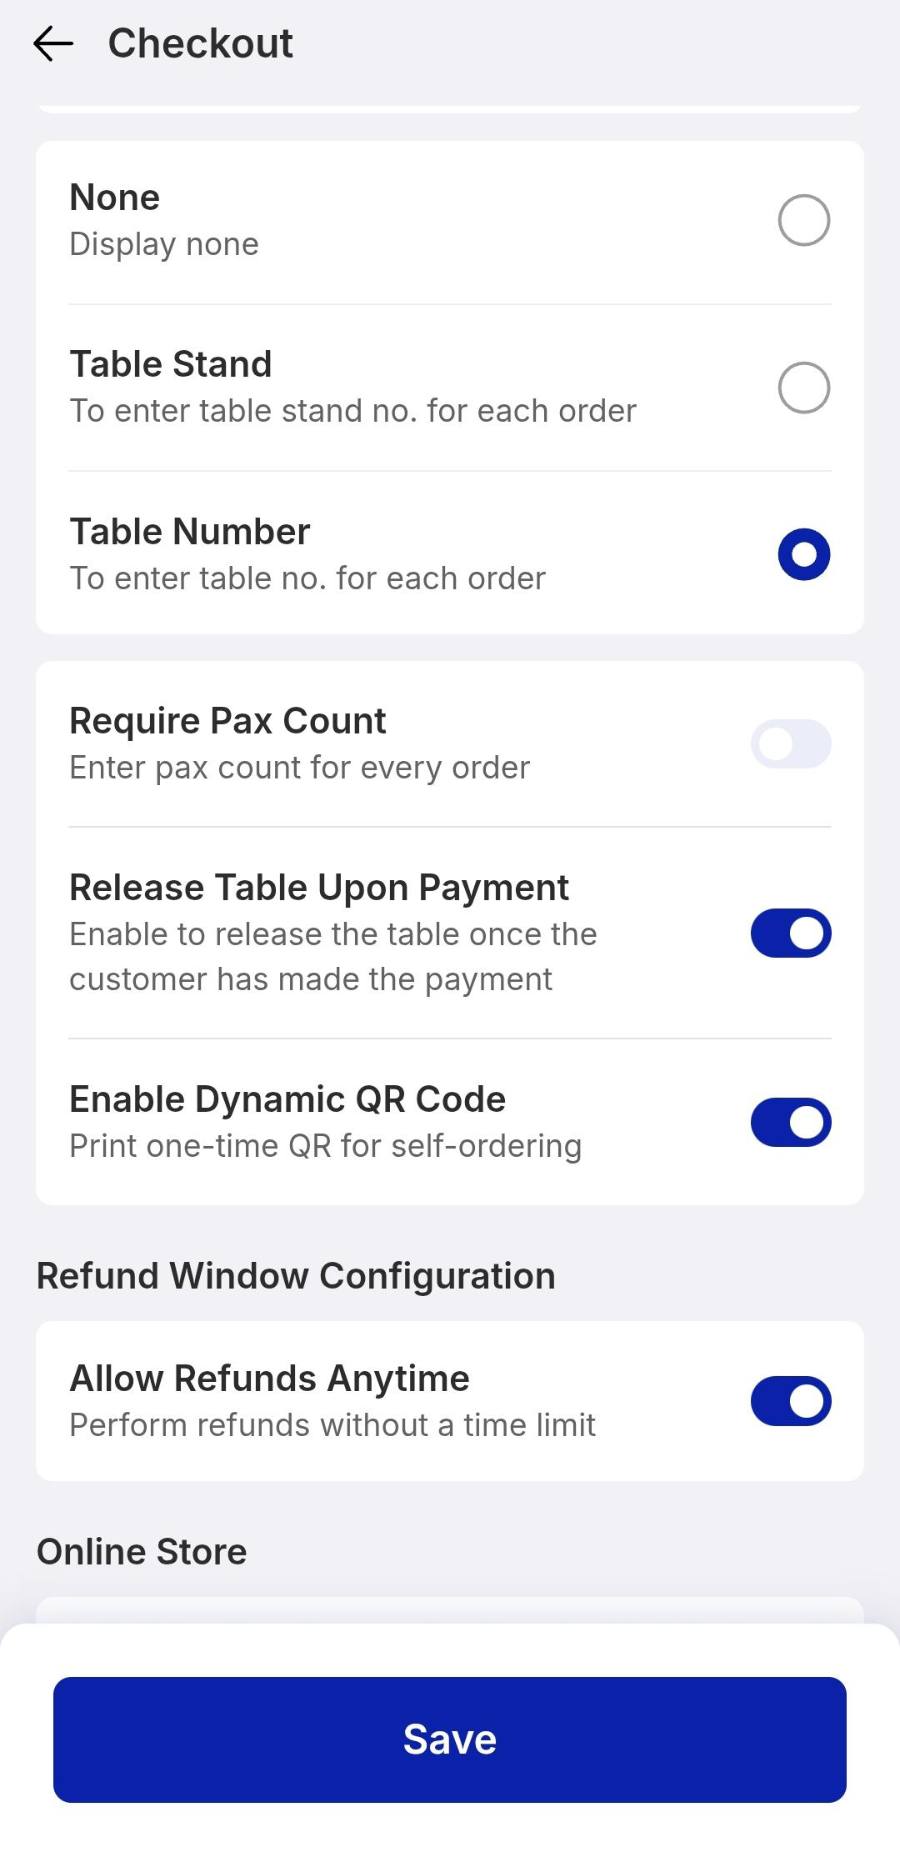
Paid tables stay locked. Release them manually, or turn on Release Table Upon Payment in Settings › Checkout.
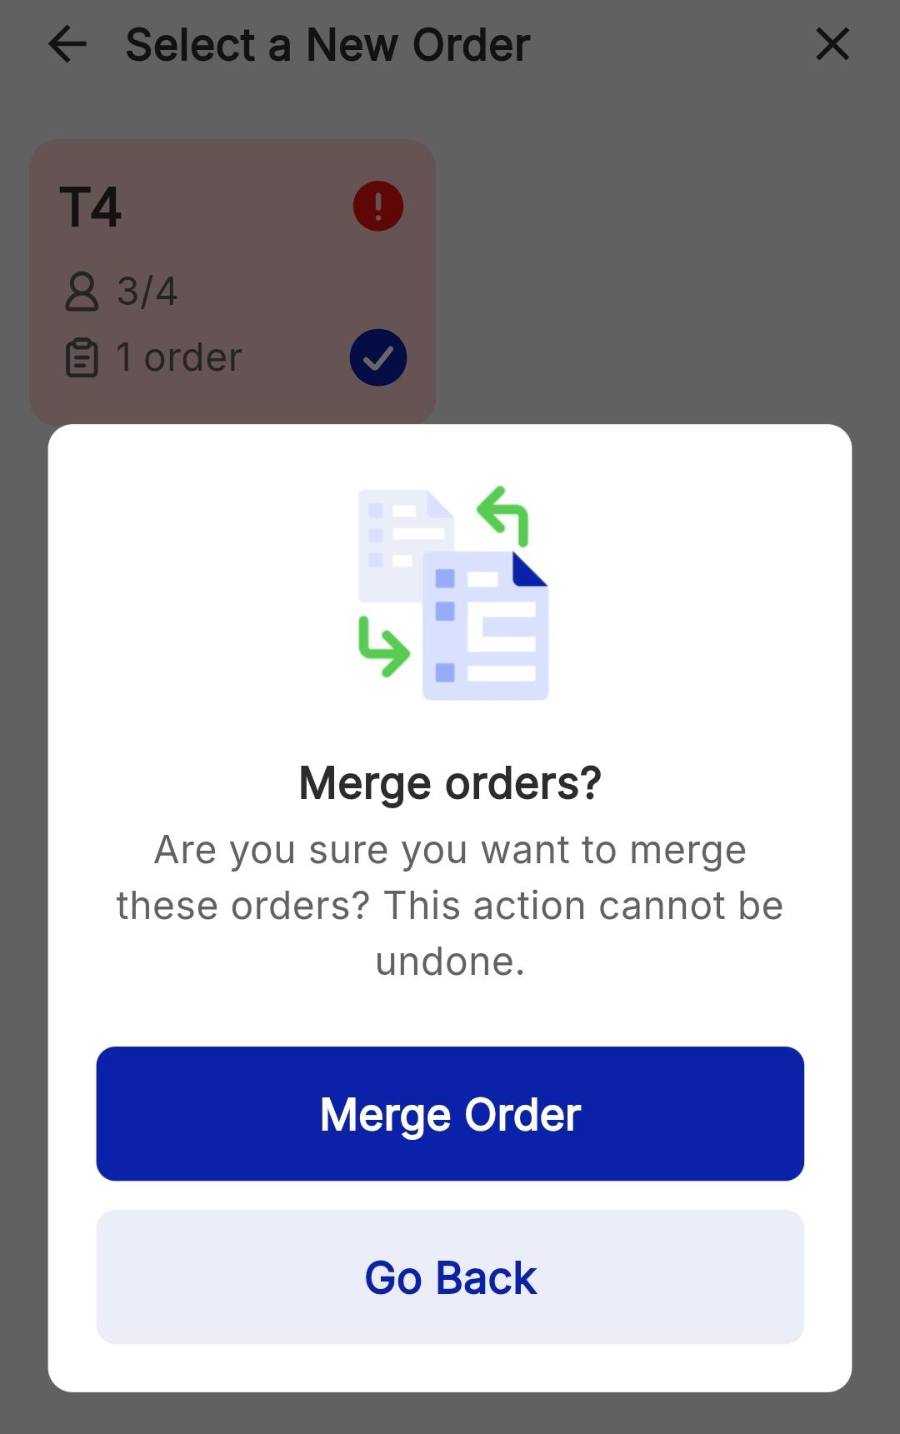
Merging is one-way. Only tables with active unpaid orders can merge, and the merge cannot be undone.
THE STEPS
Pick the device in front of you.
Build your floor plan
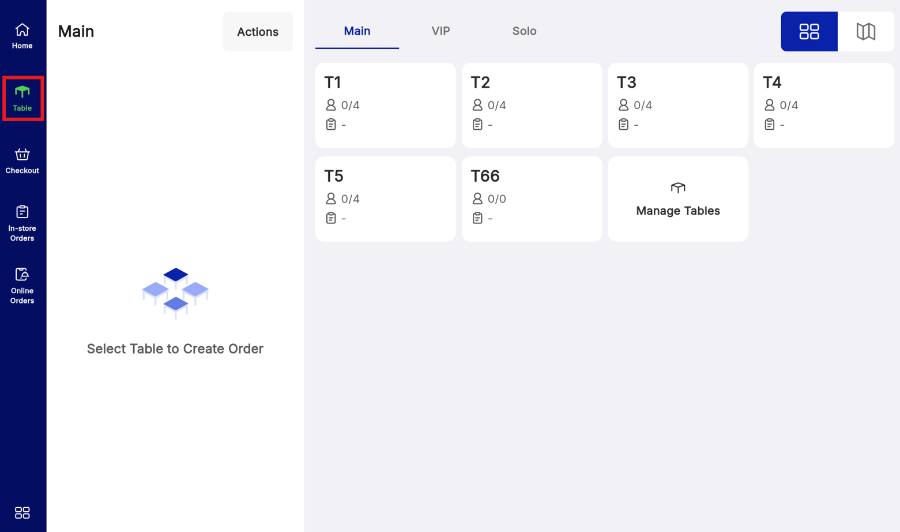
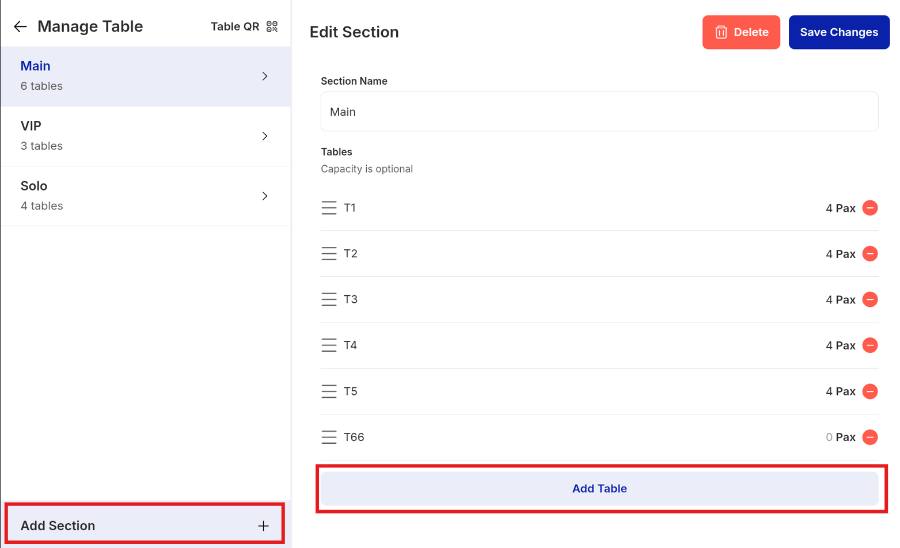
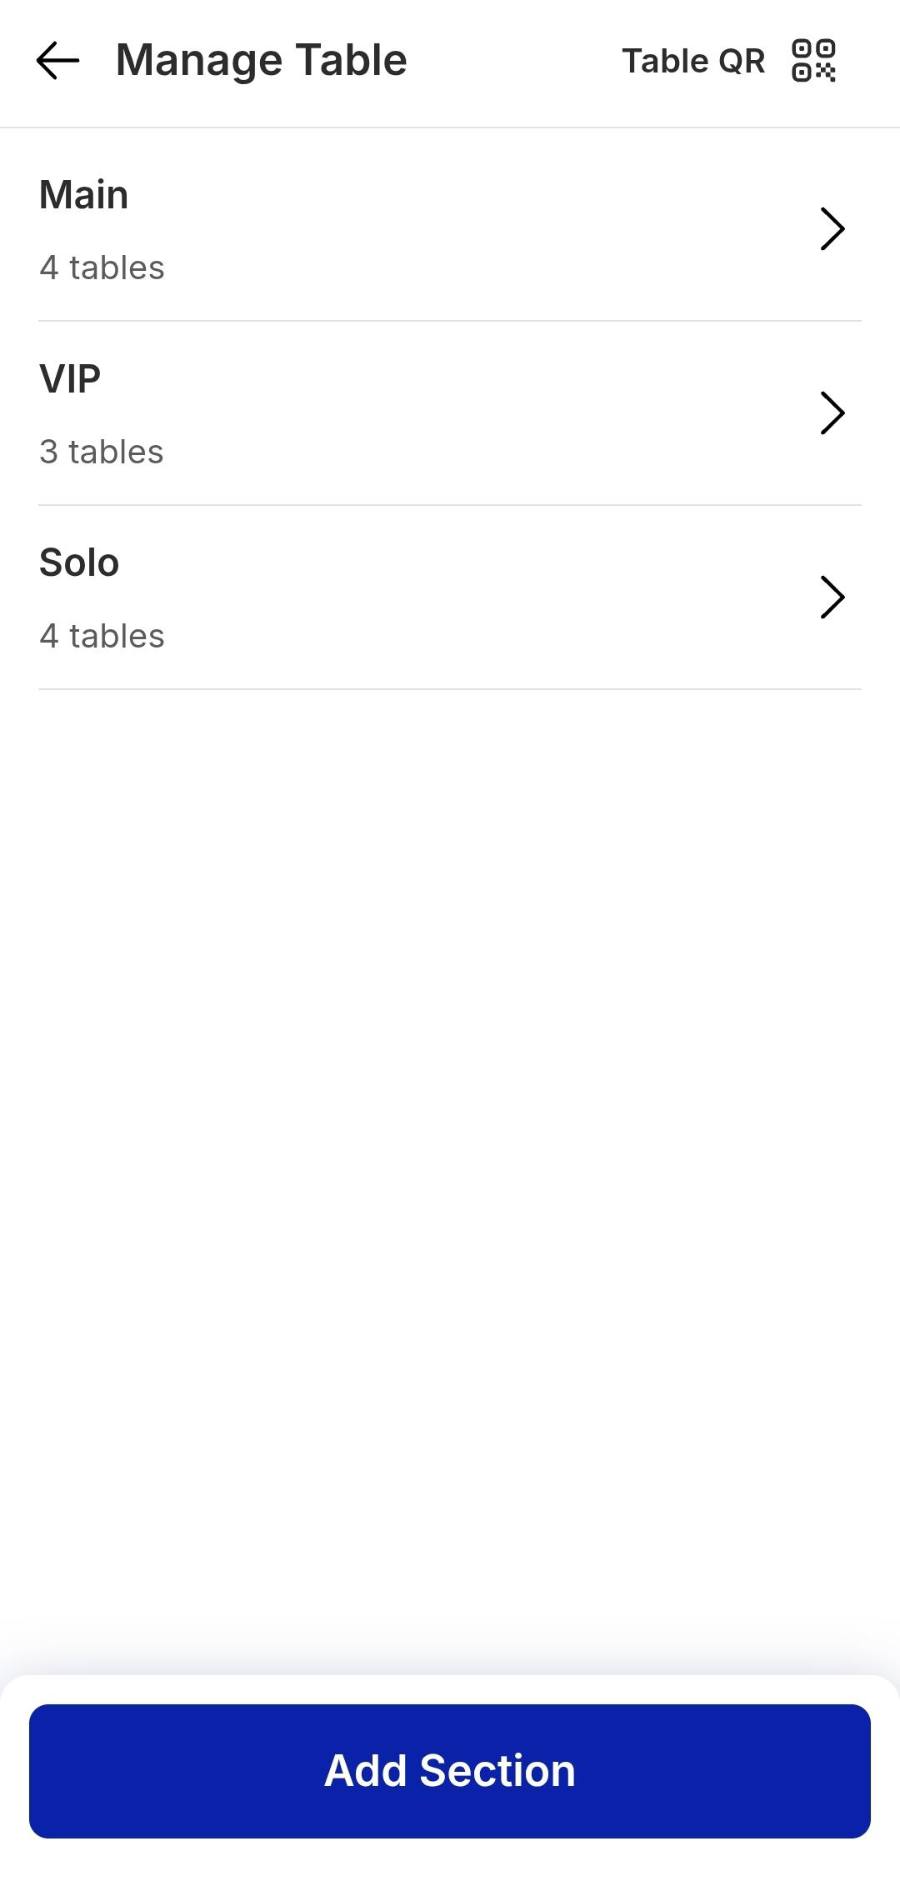
Tap Table in the left sidebar. On an empty workspace, tap Add Table, then Add Section at the bottom of Manage Table.
Take an order on a table
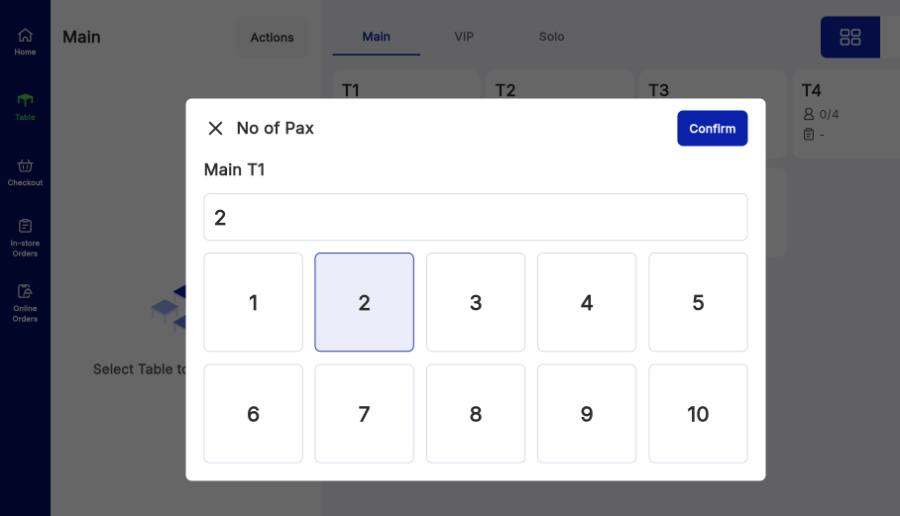
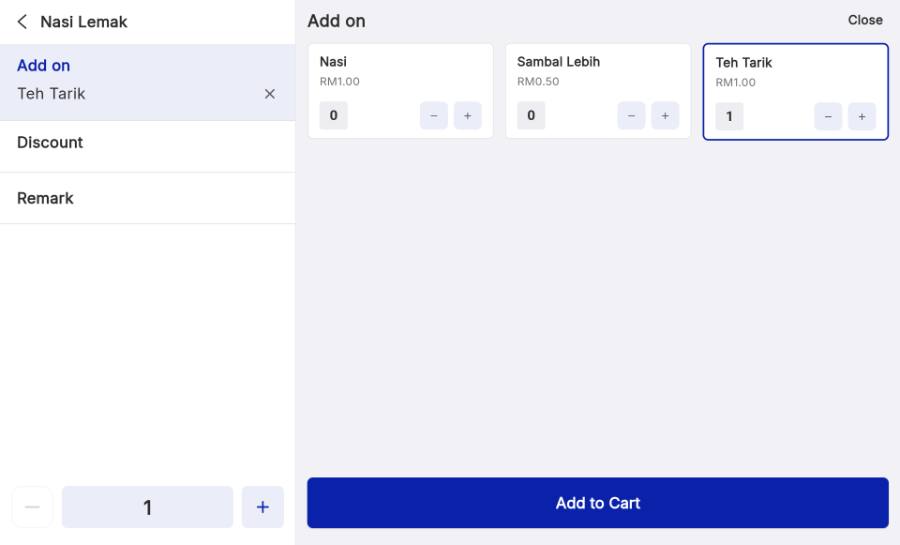
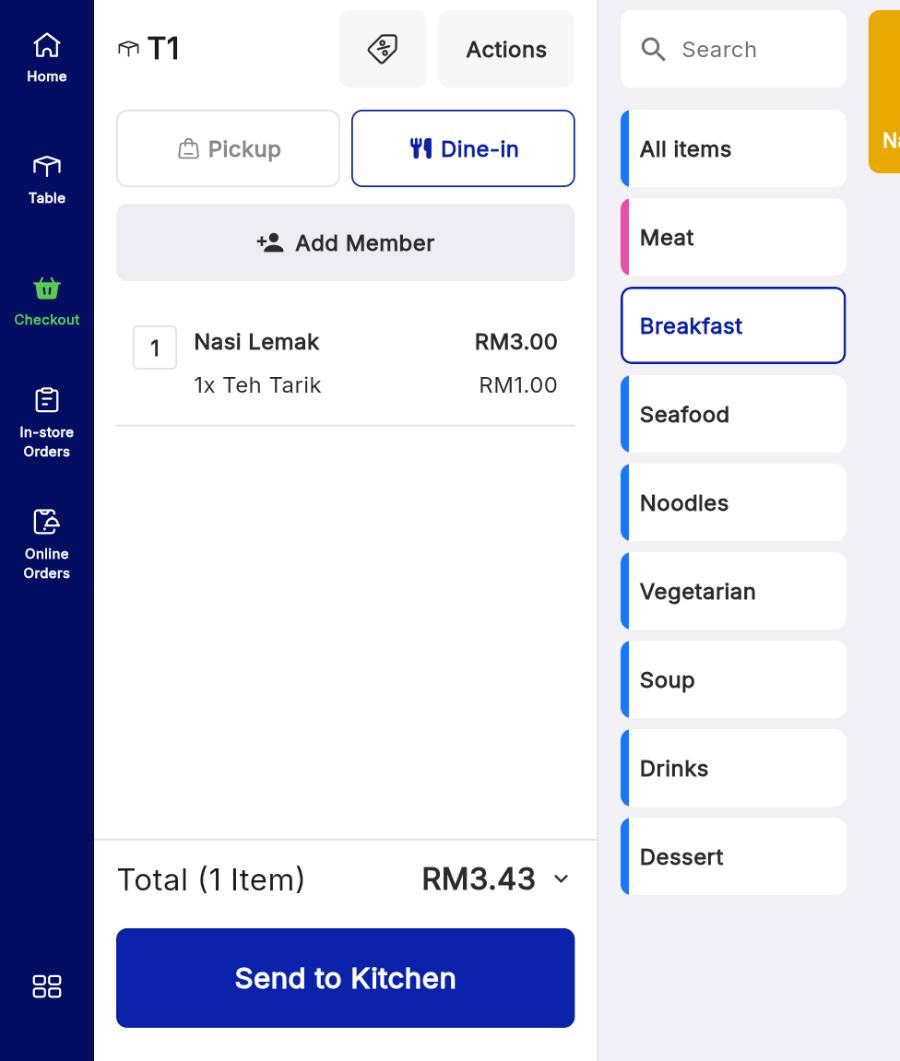
Tap a vacant table card, enter the Pax Count and tap Confirm. The item grid opens: add items and modifiers, adjust quantities, review the subtotal, then tap Send to Kitchen. The screen returns to the items so you can keep taking orders.
Settle the bill
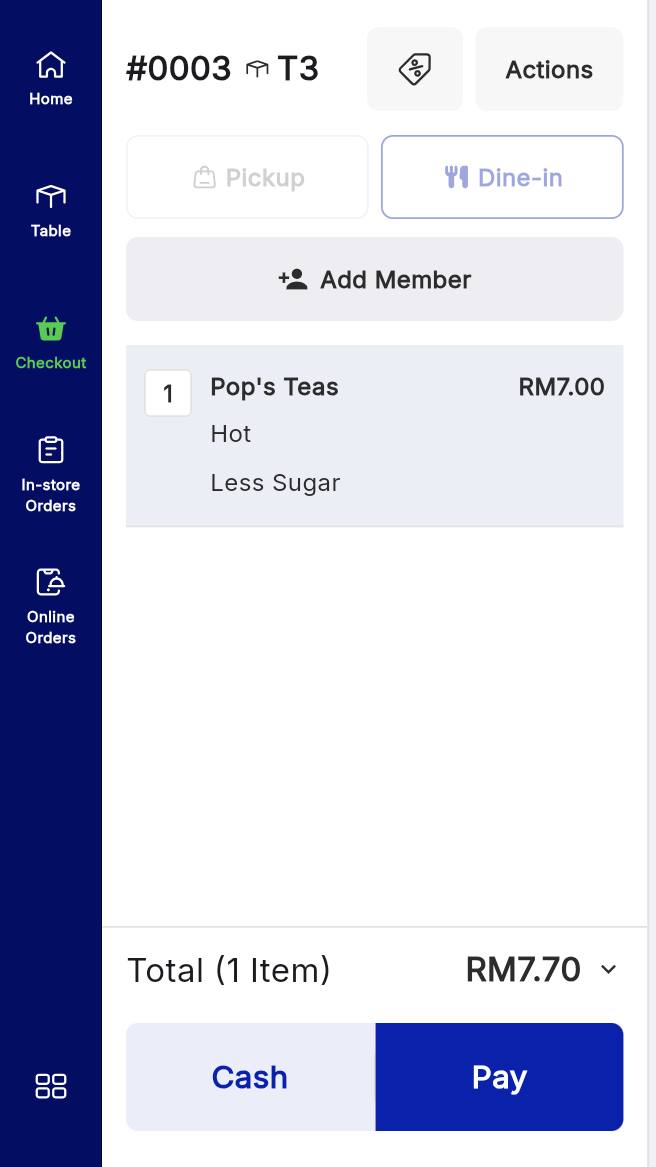
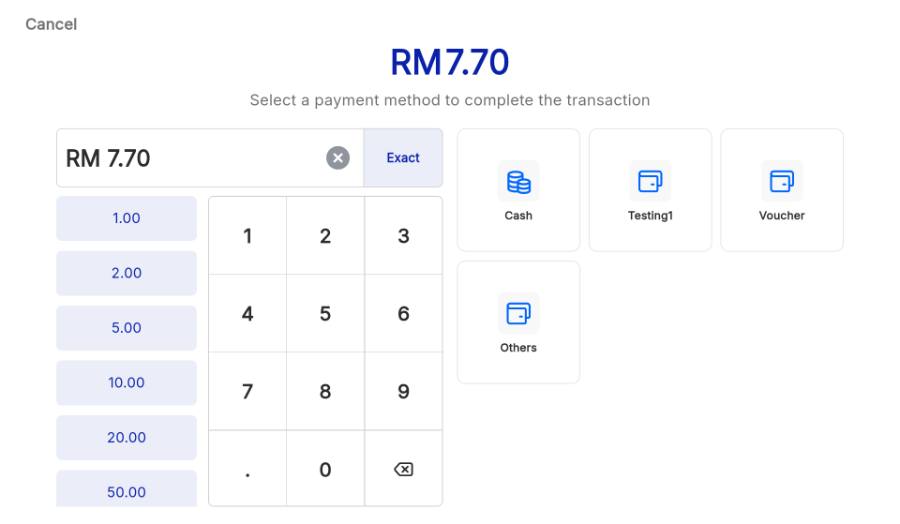
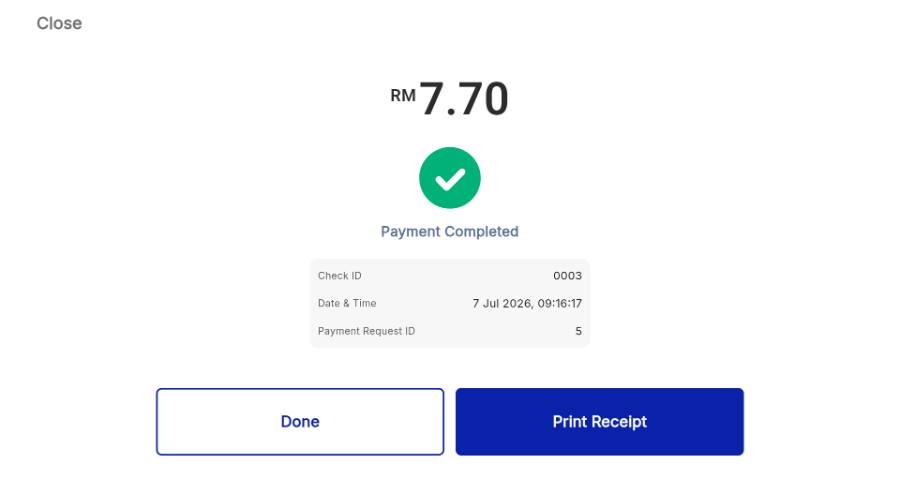
From the floor plan, open the table waiting to be billed — tap Order Details — then tap Pay. Choose the payment method, key in the cash received or tap exact, and hit Pay RM [amount]. A green Paid Successfully check with the change due appears. Tap Done.
Release a paid table
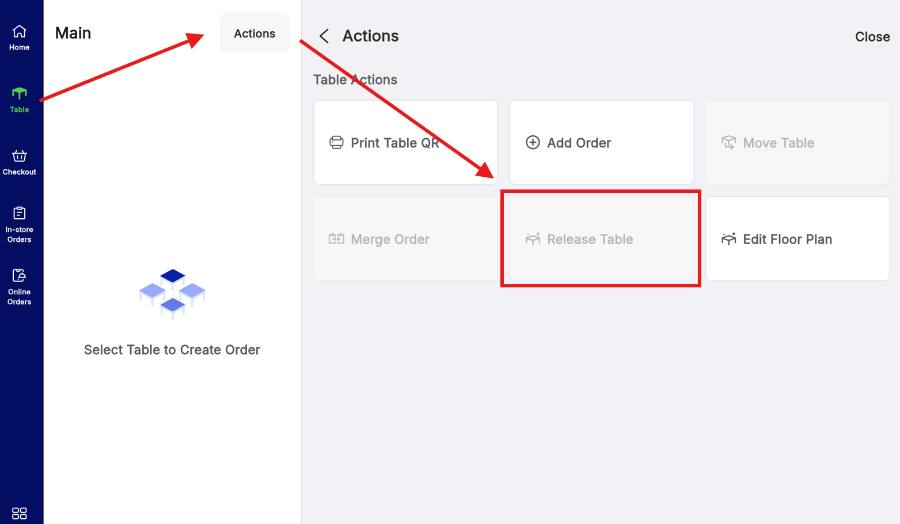
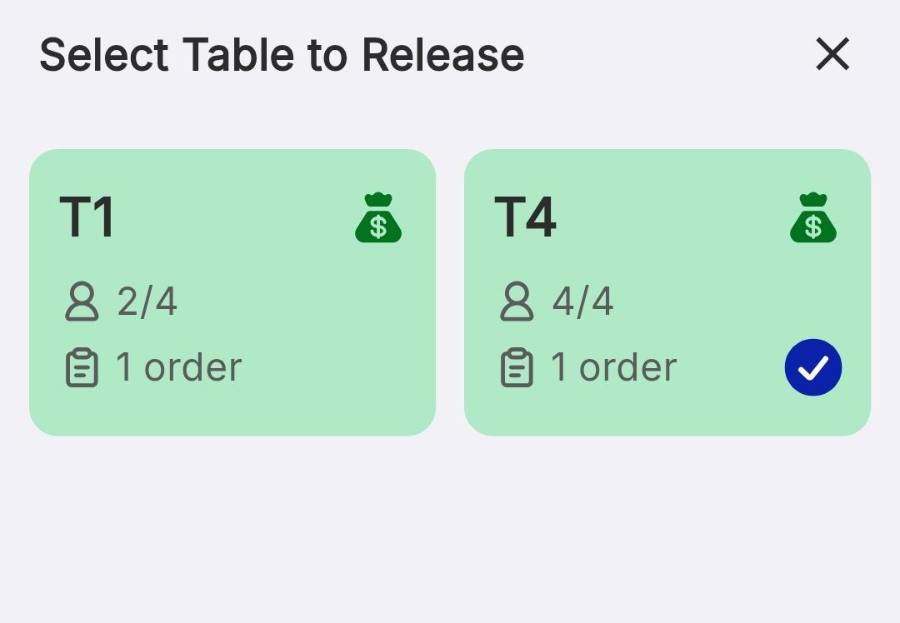
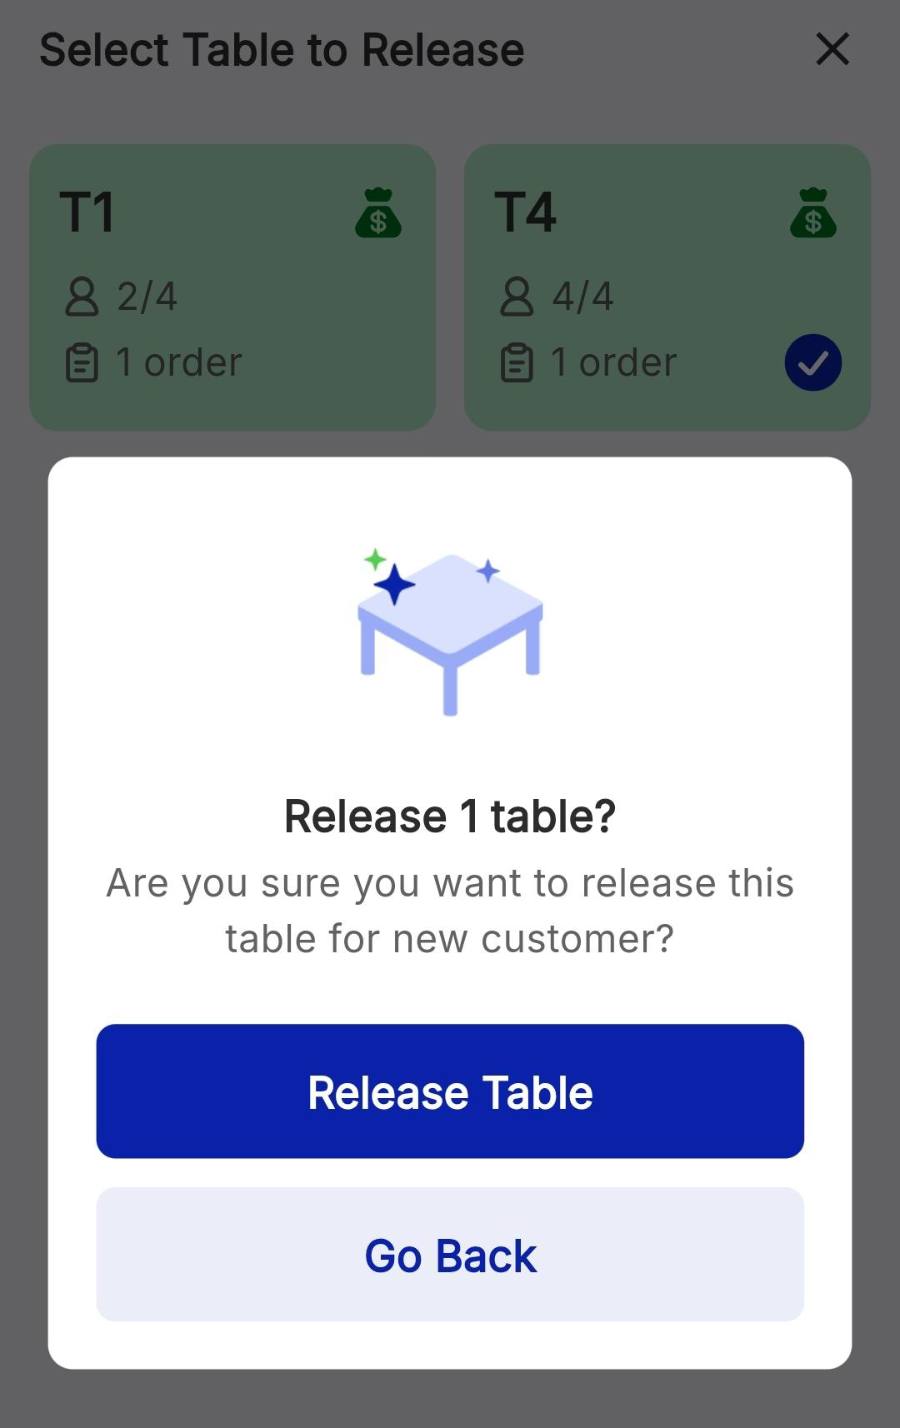
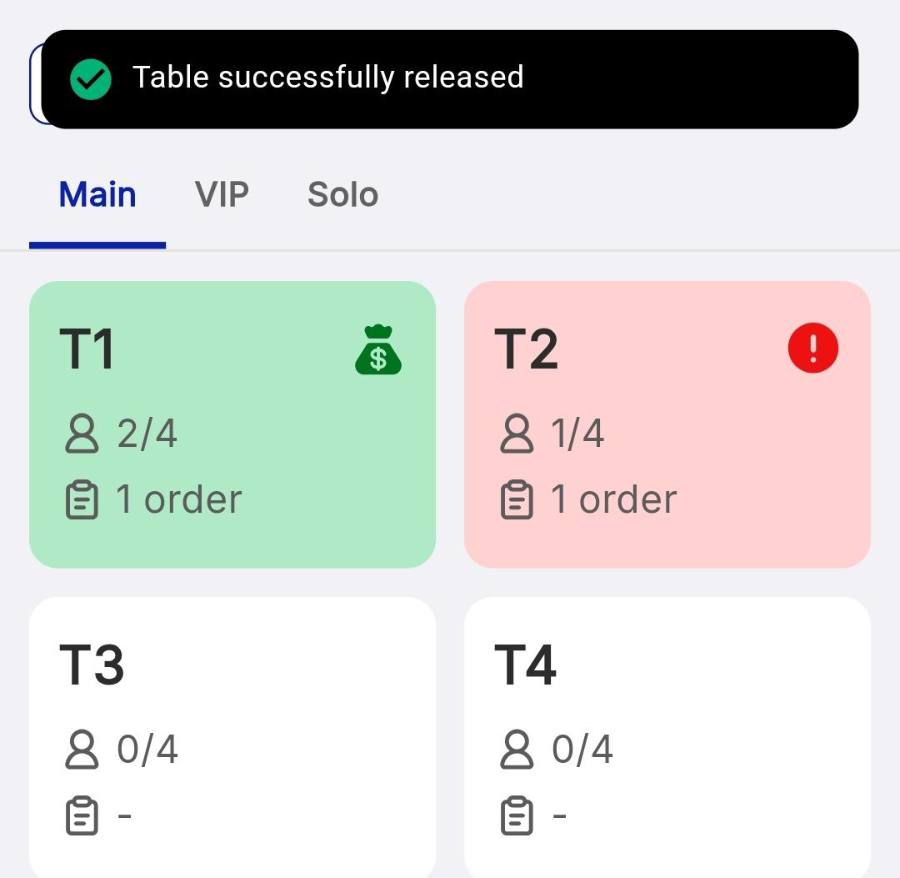
A green table with a moneybag is paid but still locked. Tap Actions at the top of the floor plan, choose Release Table, tick the paid table, tap Release Table and confirm. A green Table successfully released banner appears and the card returns to vacant.
To release tables automatically the moment a bill is paid, enable Release Table Upon Payment in Settings › Checkout.
Merge tables
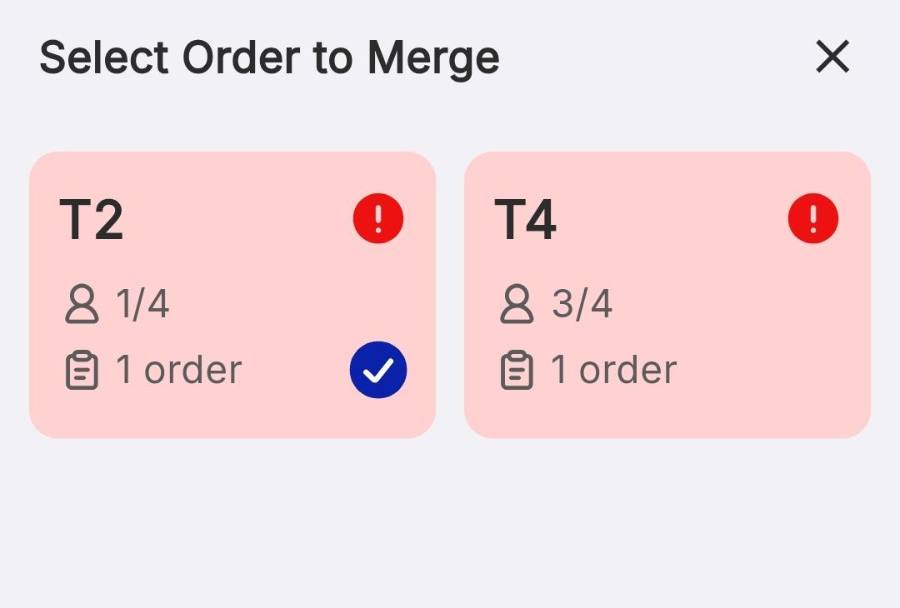
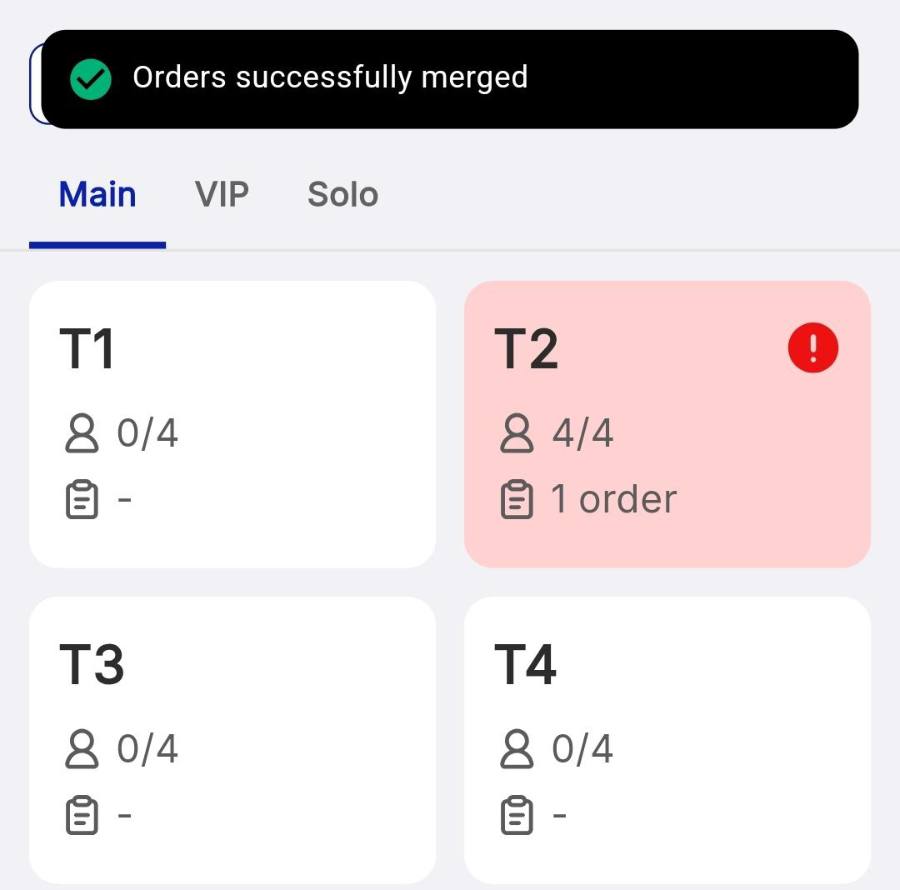
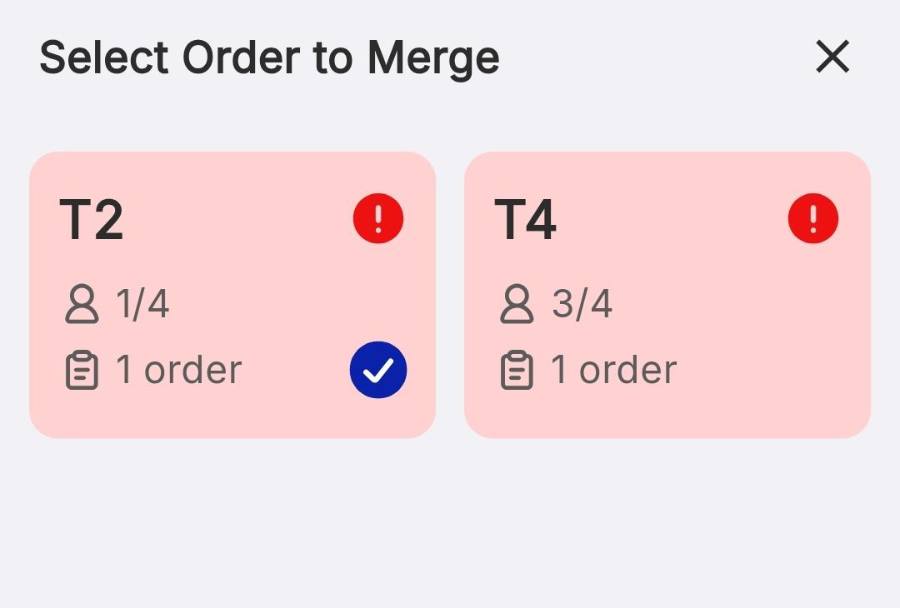
Tap Actions, then Merge Order. Select the tables to join, for example Table 1 and Table 3, tap Select Order, then confirm with Merge Order. Their line items end up on one invoice.
Only unpaid, active orders can merge, and a merge cannot be undone.
Print a table QR
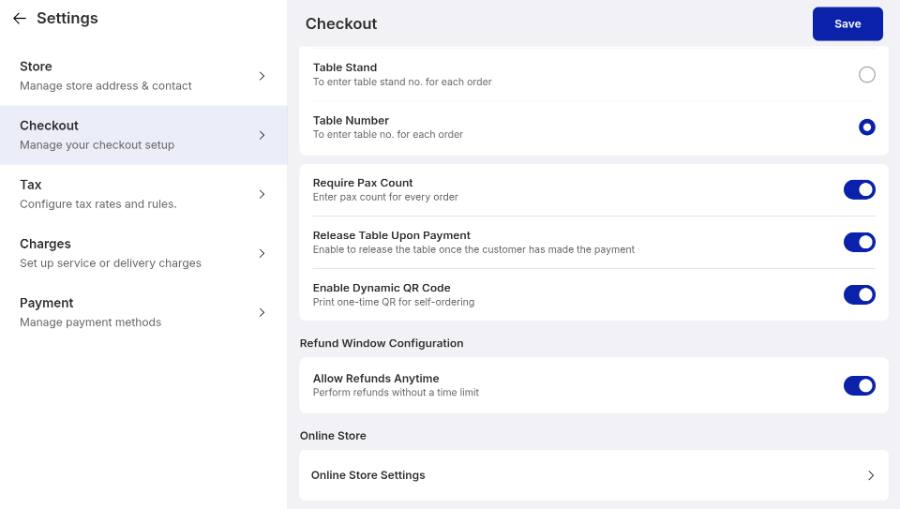
The tablet prints Dynamic QR codes. Open Settings › Checkout, enable Enable Dynamic QR Code and tap Save. Back on the floor plan, tap Actions, pick the right printer and print the QR for the customer to scan and order.
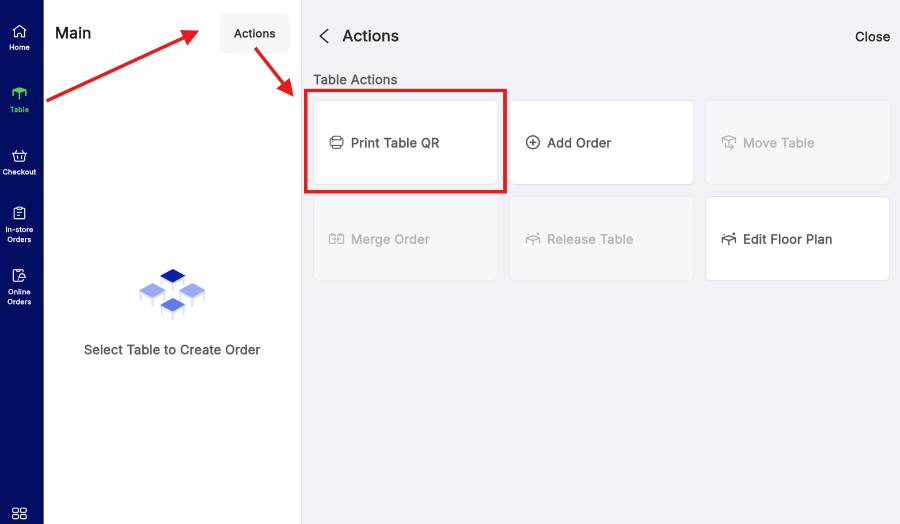
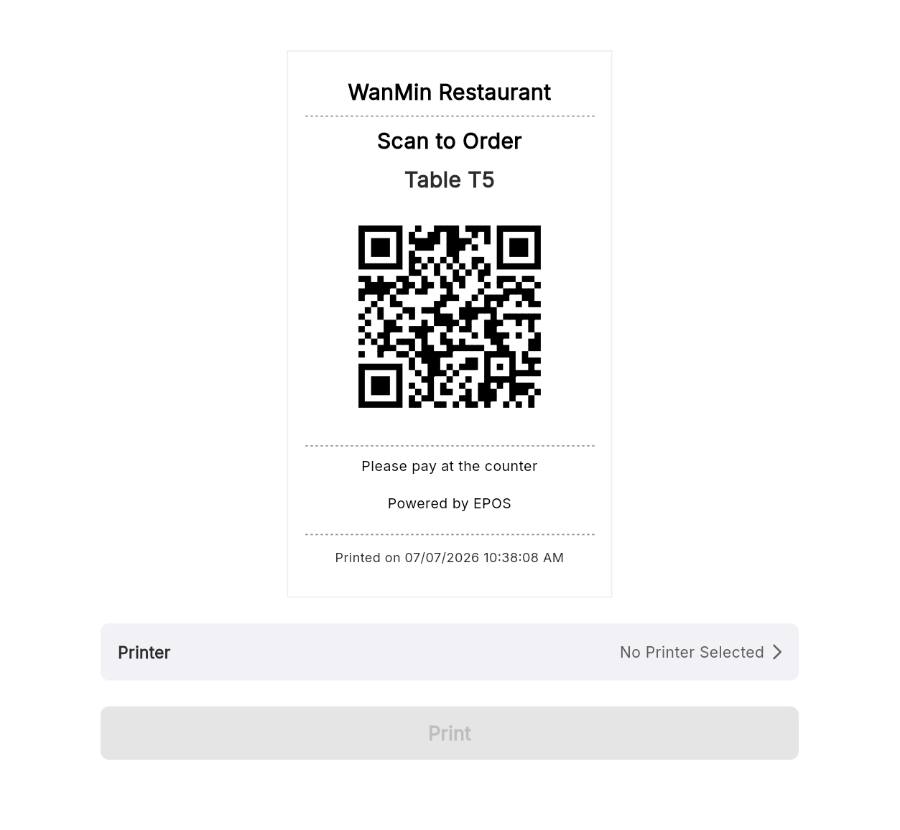
Build your floor plan
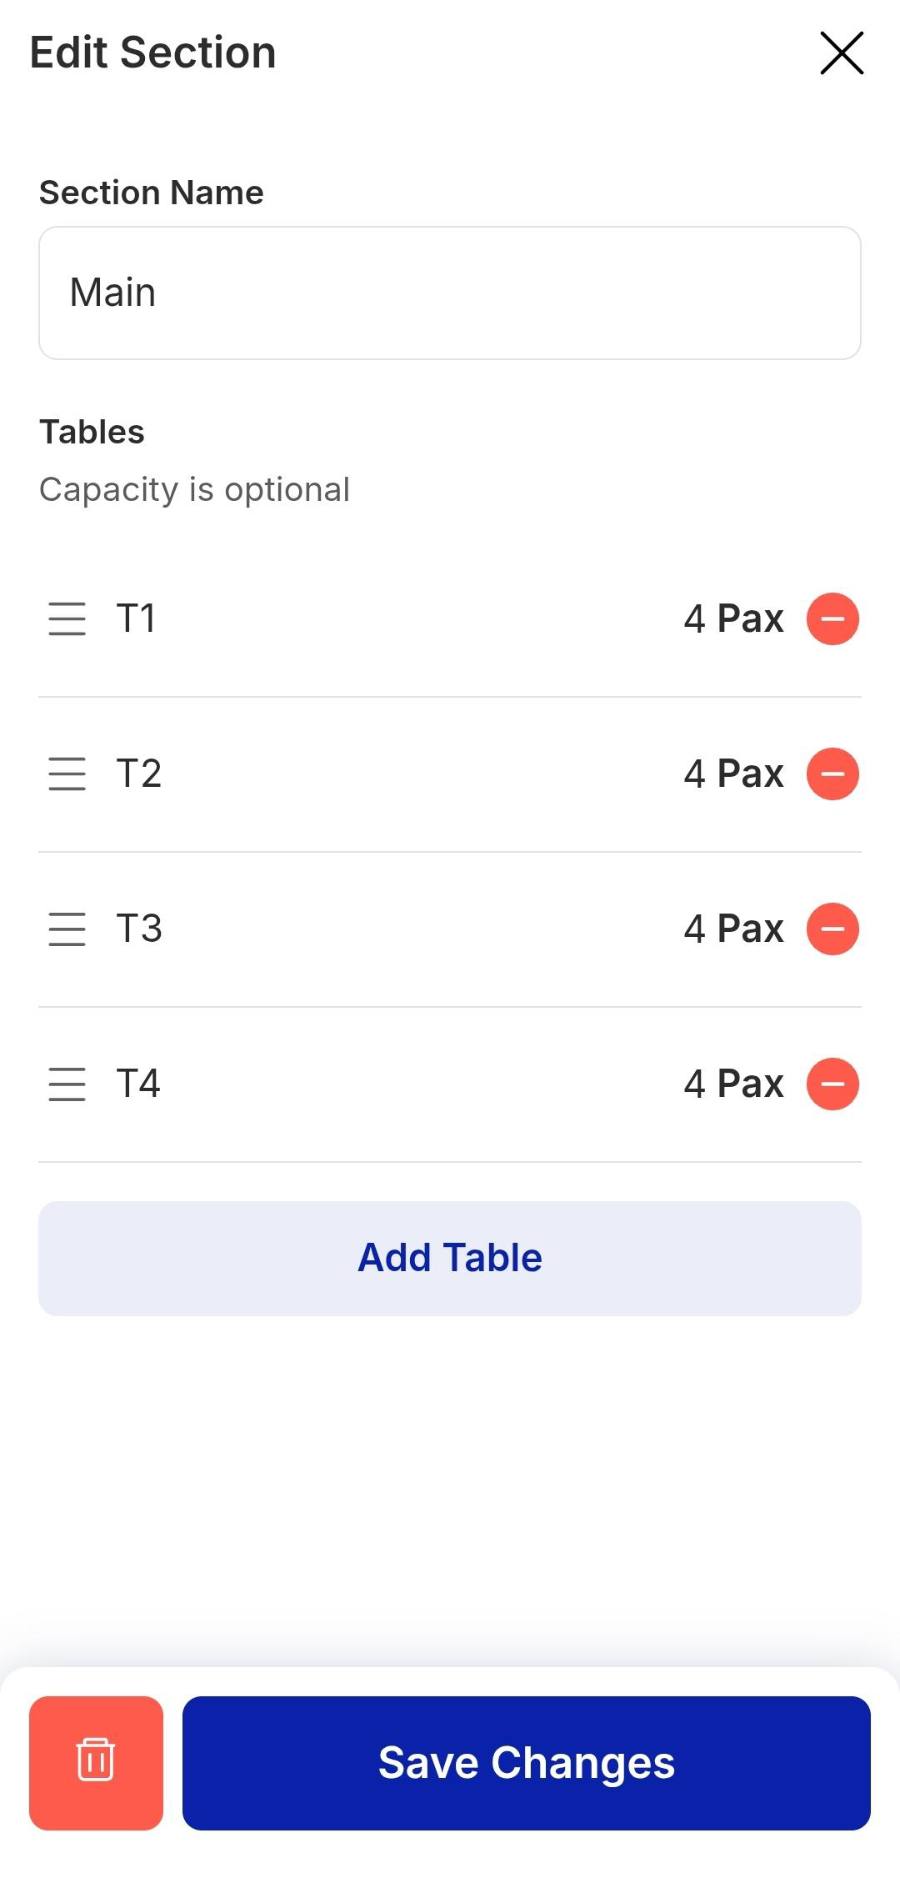
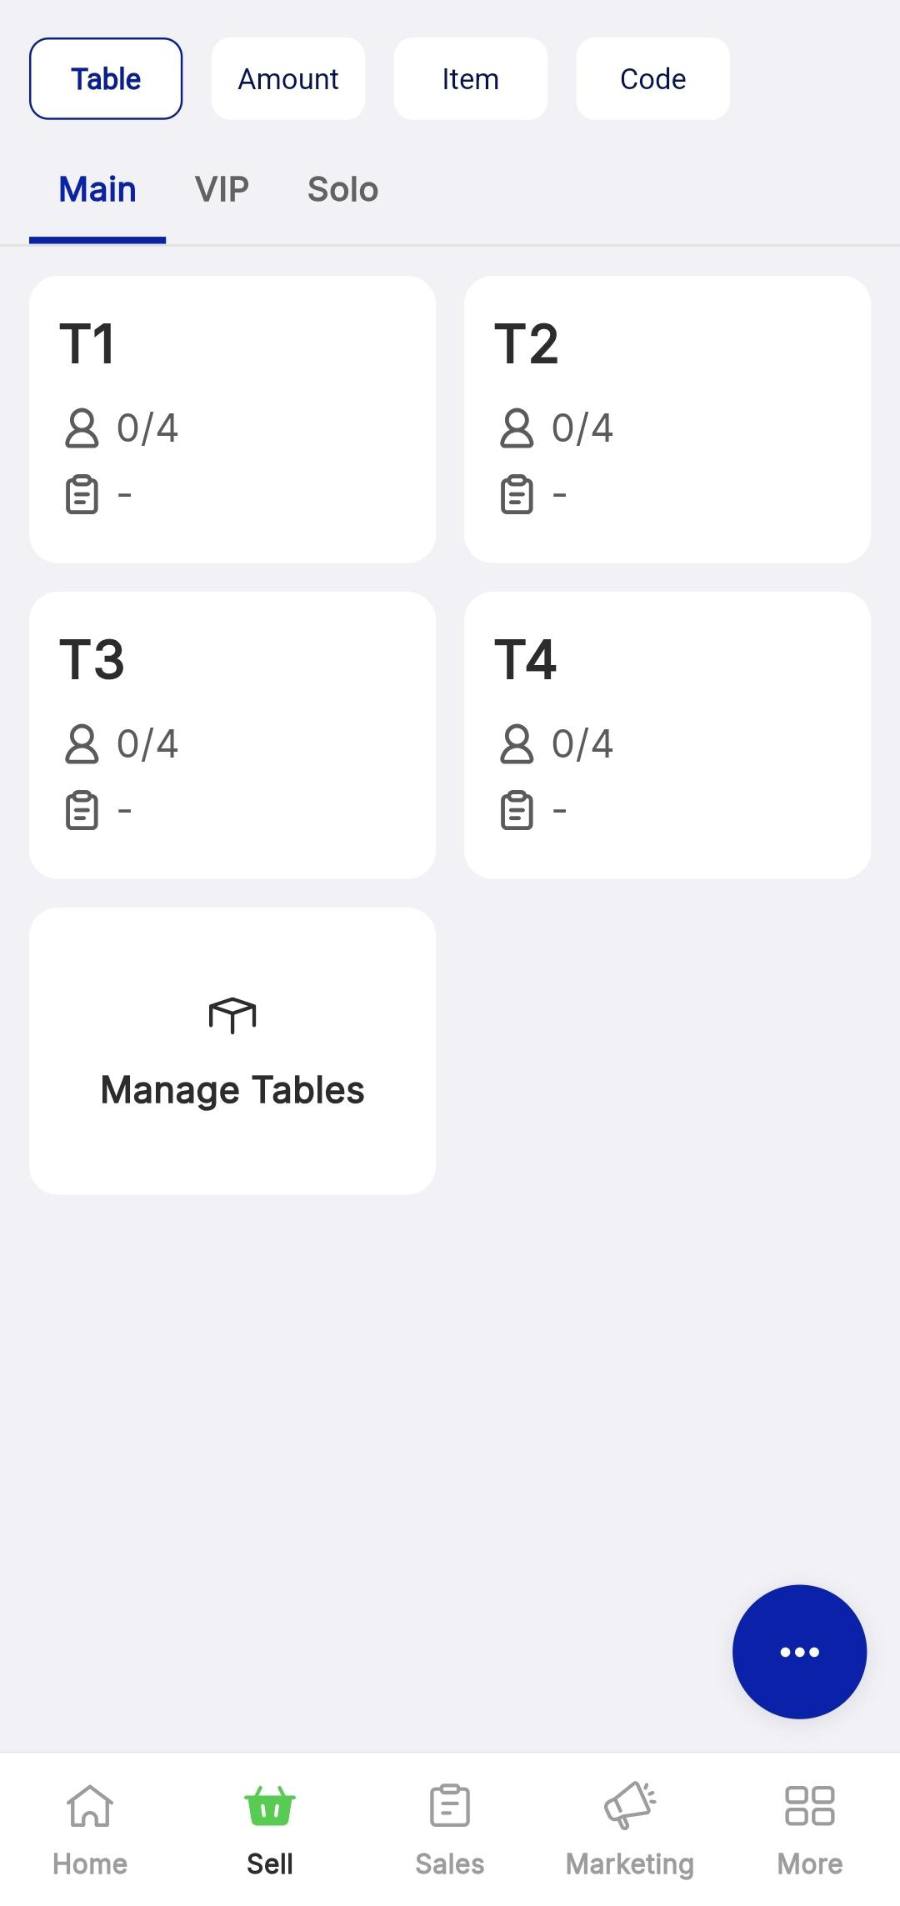
On the Sell tab, select the Table filter. Tap Add Table, then Add Section. Name the section, add and name each table, set Pax if you want it, then tap Save Changes.
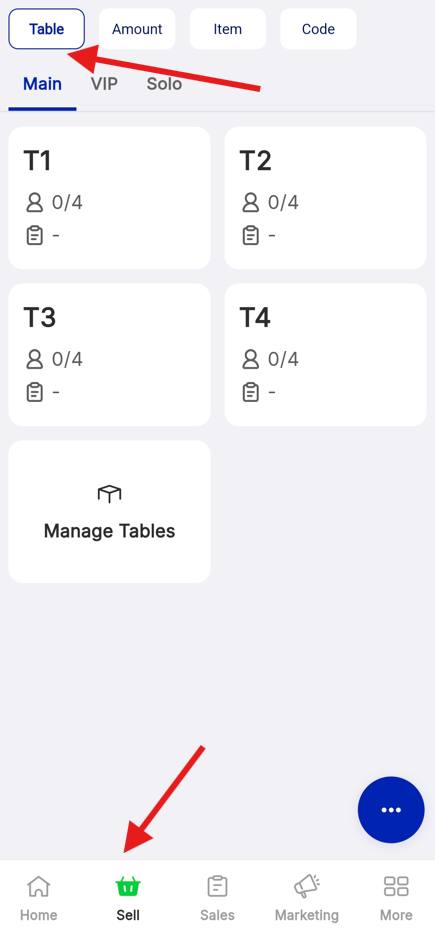
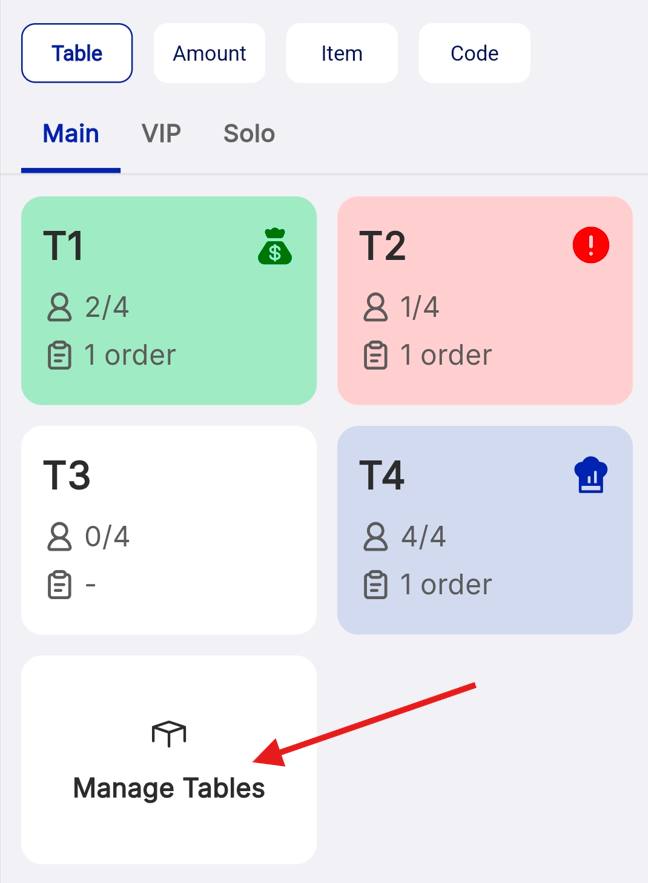
Take an order on a table
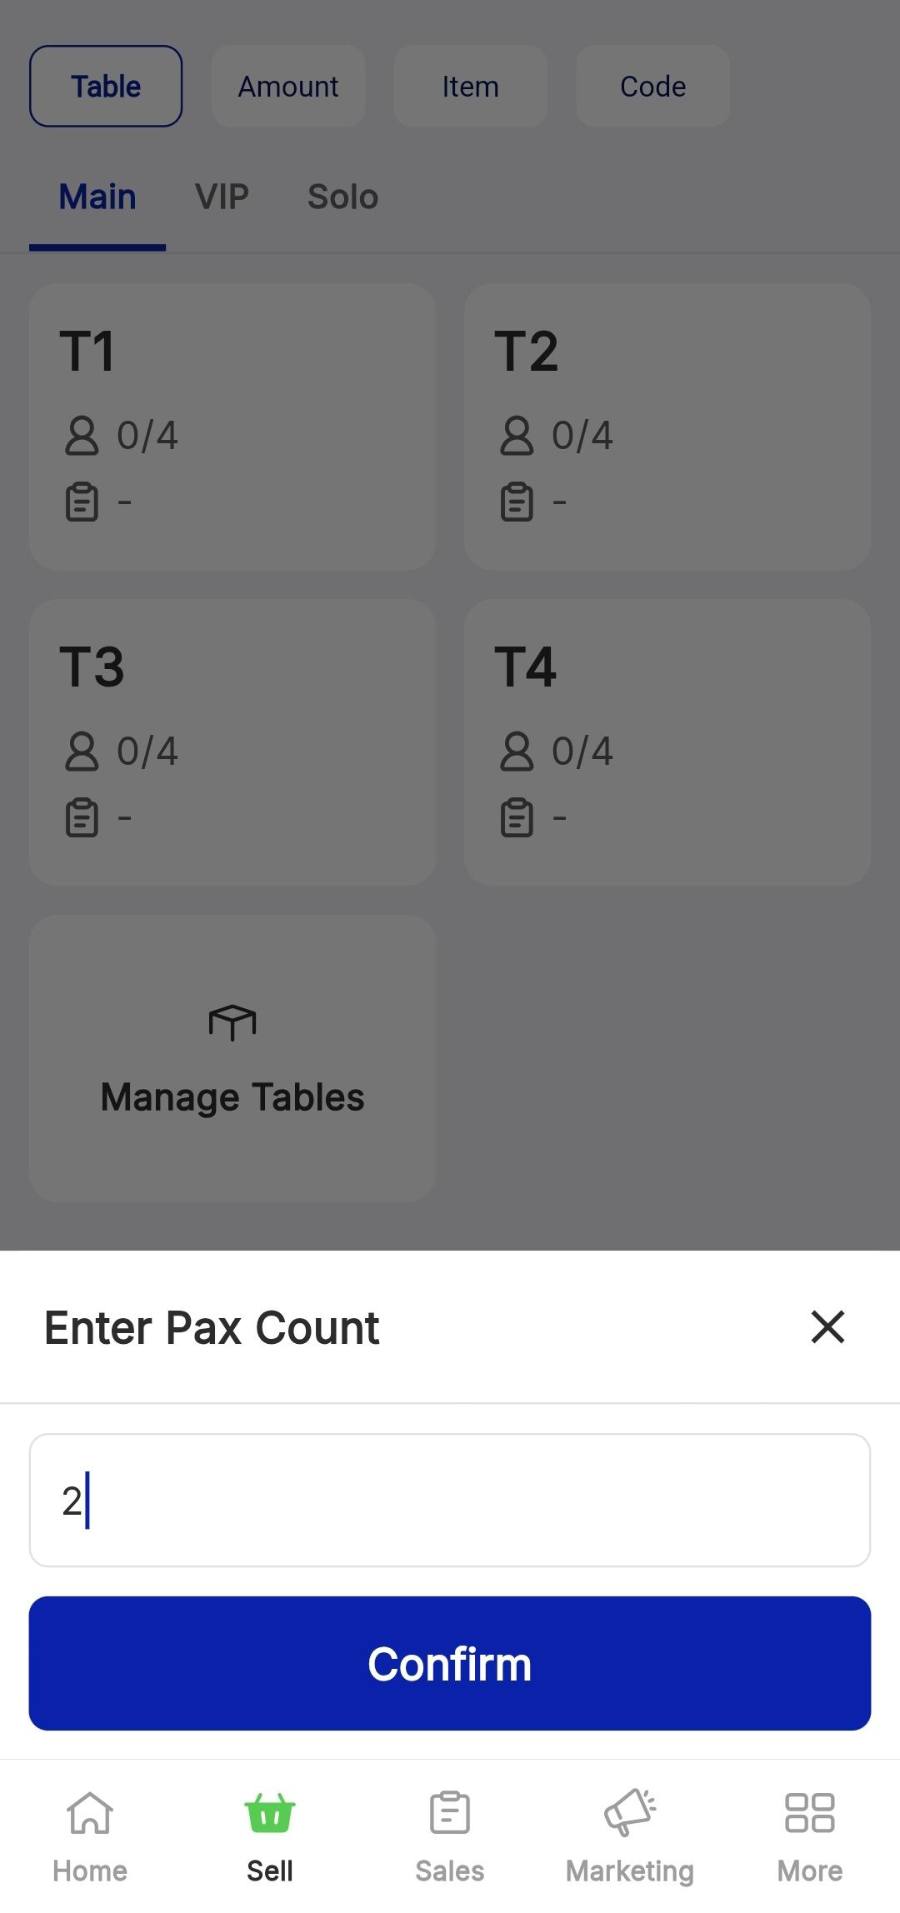
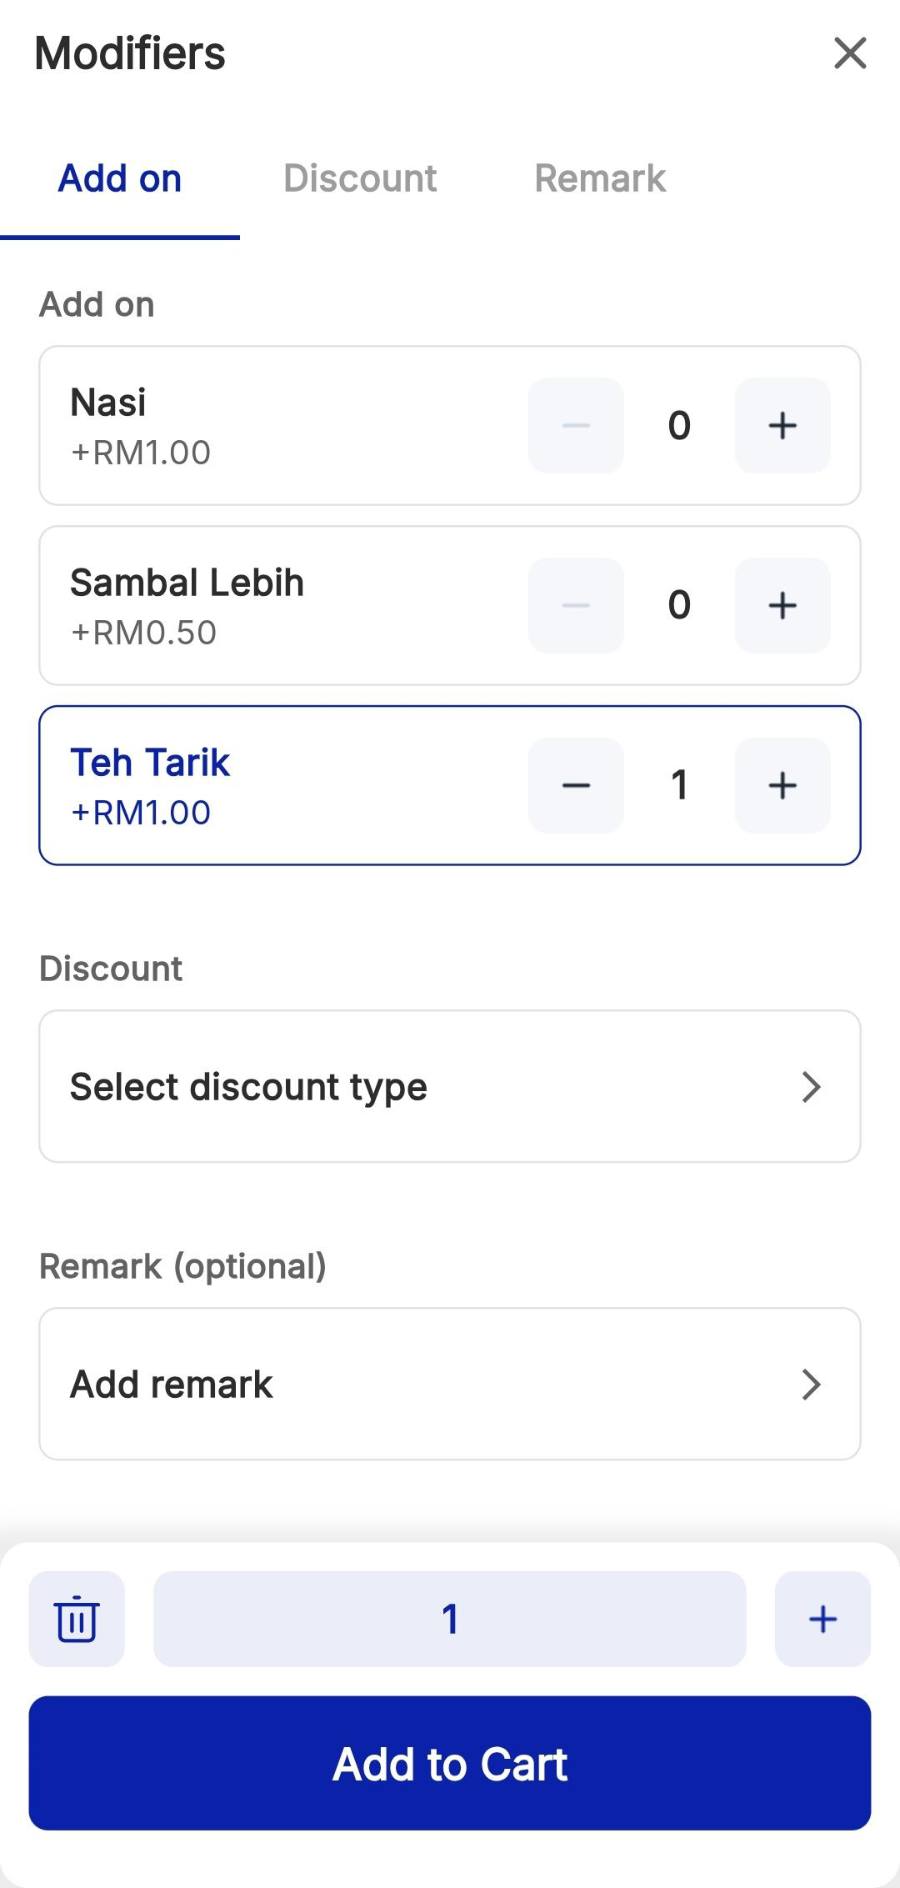
Tap a vacant table, enter the Pax Count and Confirm. Add items and modifiers, adjust quantities, then tap Send to Kitchen. The app returns to the floor plan, where the table now shows blue with a chef’s hat.
Settle the bill
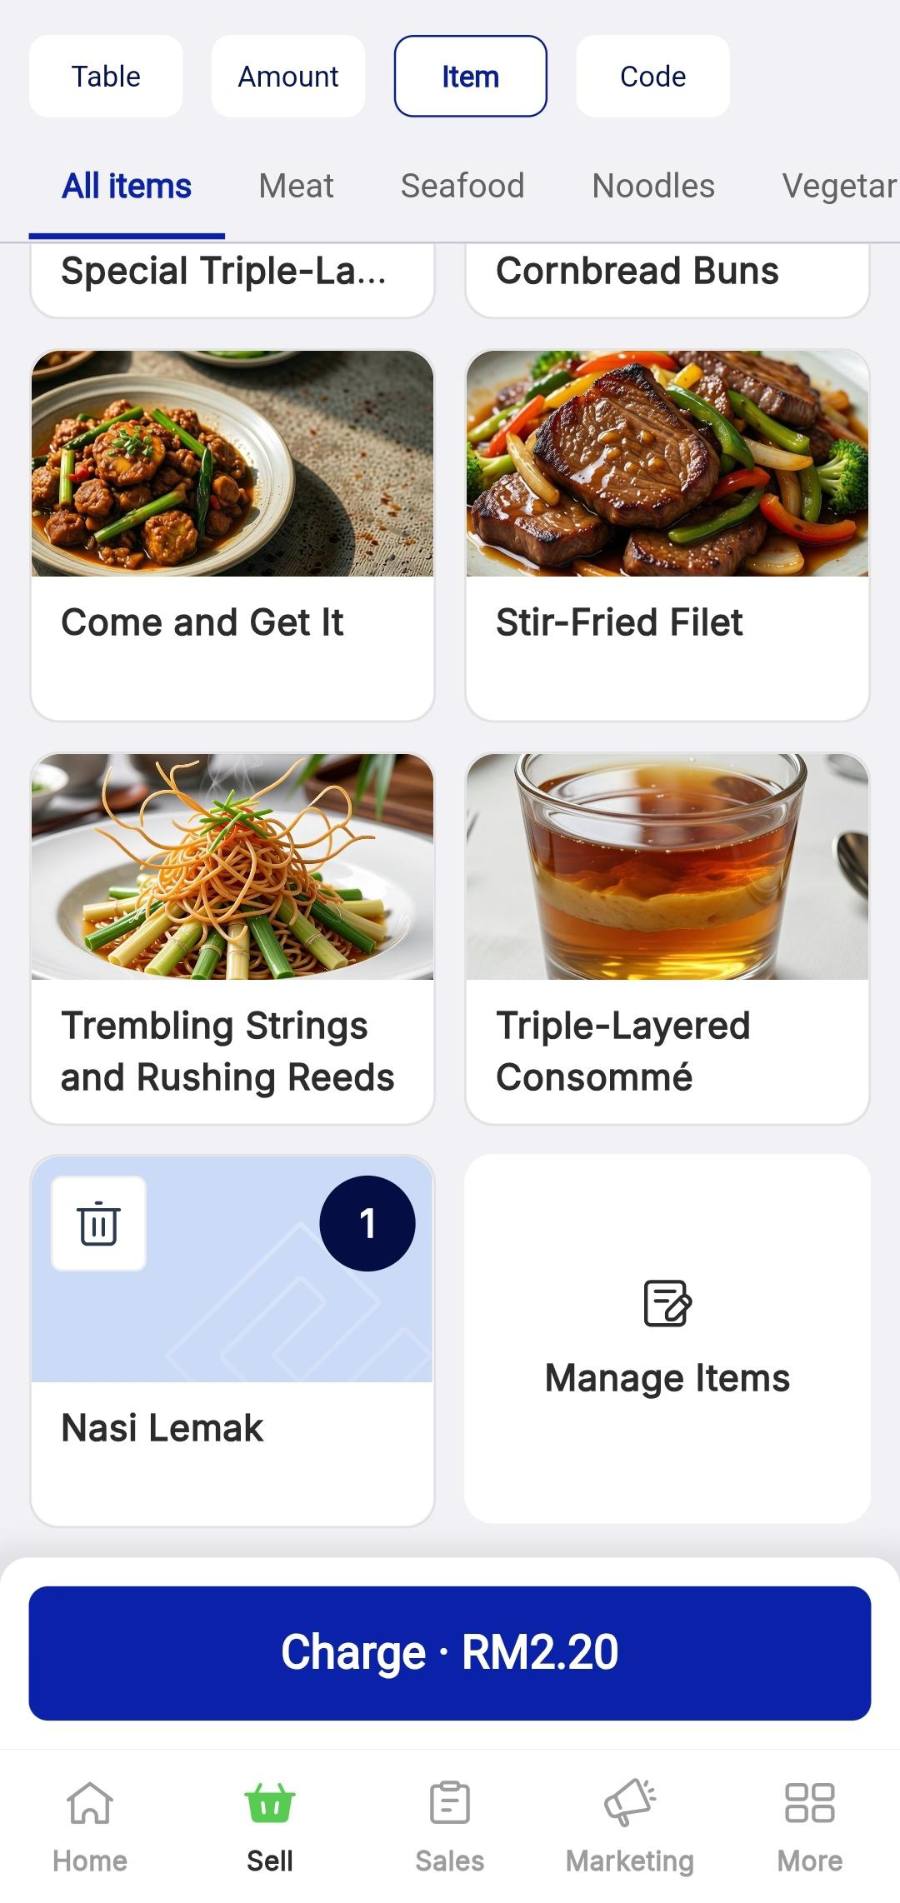
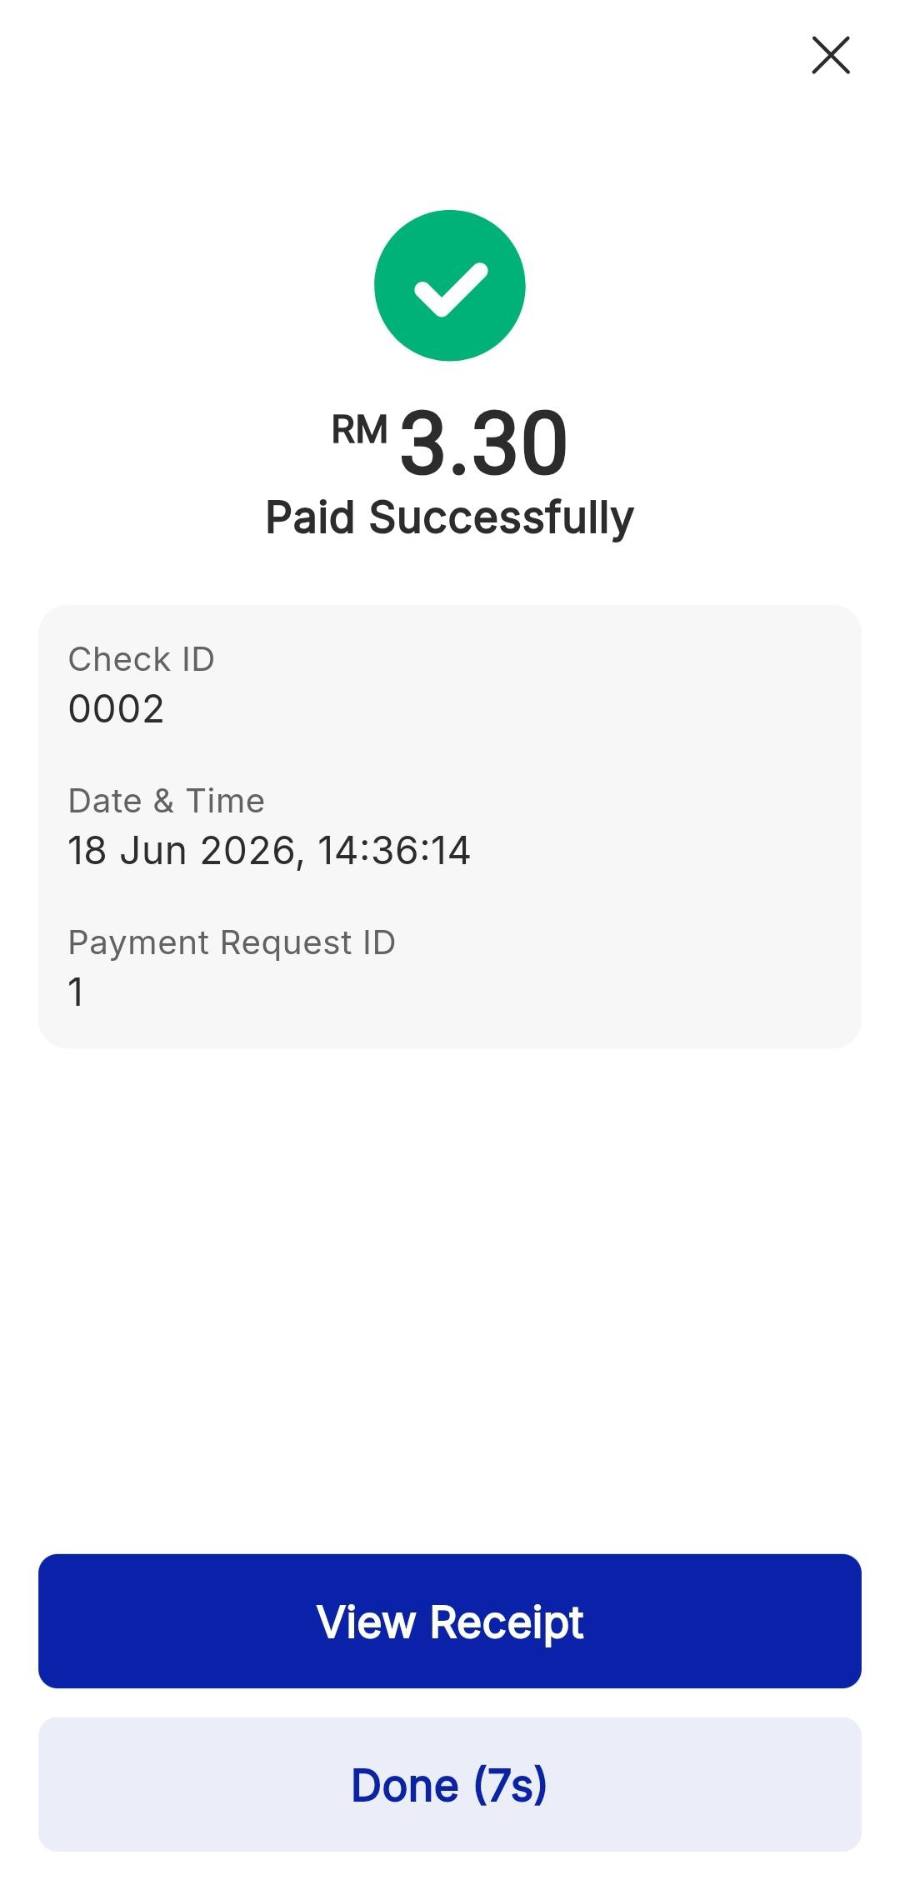
Tap the blue table tile, then Charge at the bottom of the check. Pick the payment method, key in the cash received or tap exact, hit Pay RM [amount], then Done on the Paid Successfully screen.
Release a paid table
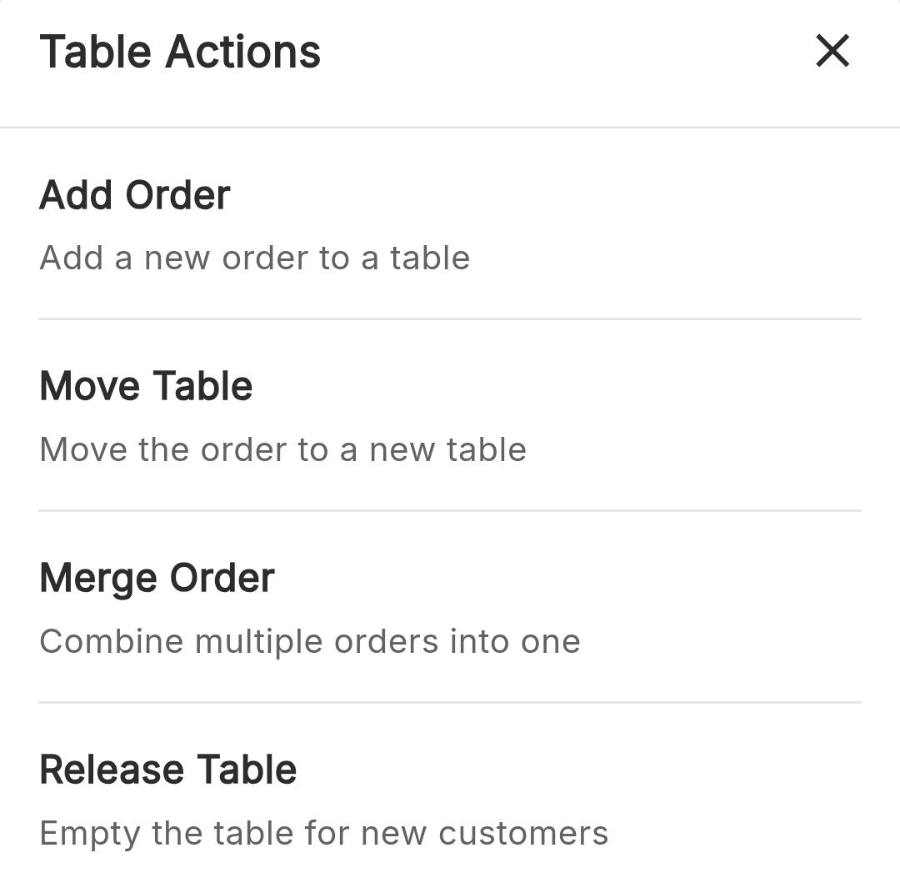
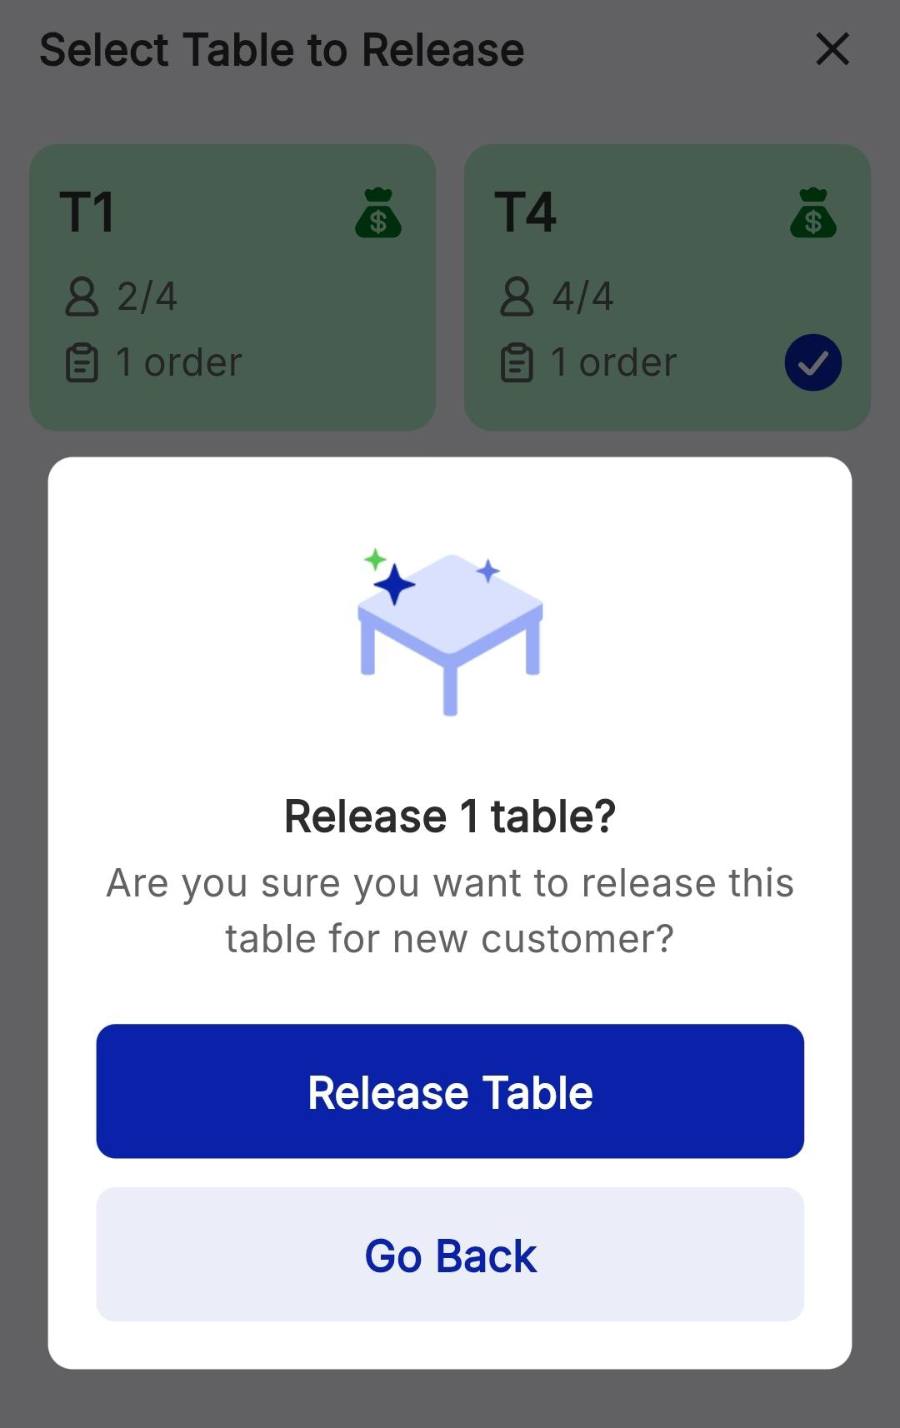
Tap the … menu at the bottom right, choose Release Table, tick the green paid table, tap Release Table and confirm.
To release tables automatically the moment a bill is paid, enable Release Table Upon Payment in Settings › Checkout.
Merge tables
From the … menu choose Merge Order, select the tables to join, tap Select Order, then confirm.
Only unpaid, active orders can merge, and a merge cannot be undone.
Print a table QR
The phone supports both kinds of table QR.
WATCH IT INSTEAD
Tablet walkthrough
Phone walkthrough
IF IT LOOKS WRONG
A paid table will not take new guests
Green tables stay locked until released. Use Actions › Release Table, or enable automatic release in checkout settings.
Merge Order is greyed out
Both tables need an active, unpaid order. A settled table cannot be merged.
No Print Dynamic QR option
Enable Dynamic QR Code in Settings › Checkout and save, then reopen the table section.
